Grade Level
6, 7, 8, 9, 10, 11, and 12
Difficulty
Intermediate
Duration
2 hours
Subjects
Design & technology
Engineering
Entrepreneurship
Science
STEAM
Technology
Woodworking
-
Students use a variety of technologies within a design process to identify and solve problems by creating new, useful or imaginative solutions.
-
Students develop and employ strategies for understanding and solving problems in ways that leverage the power of technological methods to develop and test solutions.
-
– Asking Questions and Defining Problems
– Developing and Using Models
– Planning and Carrying Out Investigations
– Analyzing and Interpreting Data
– Using Mathematics and Computational Thinking
– Constructing Explanations and Designing Solutions
– Engaging in Argument from Evidence
– Obtaining, Evaluating, and Communicating Information
Vocab
Living Hinge
Three Dimensional
Author
Glowforge
Licensing
Lesson for Download
Overview
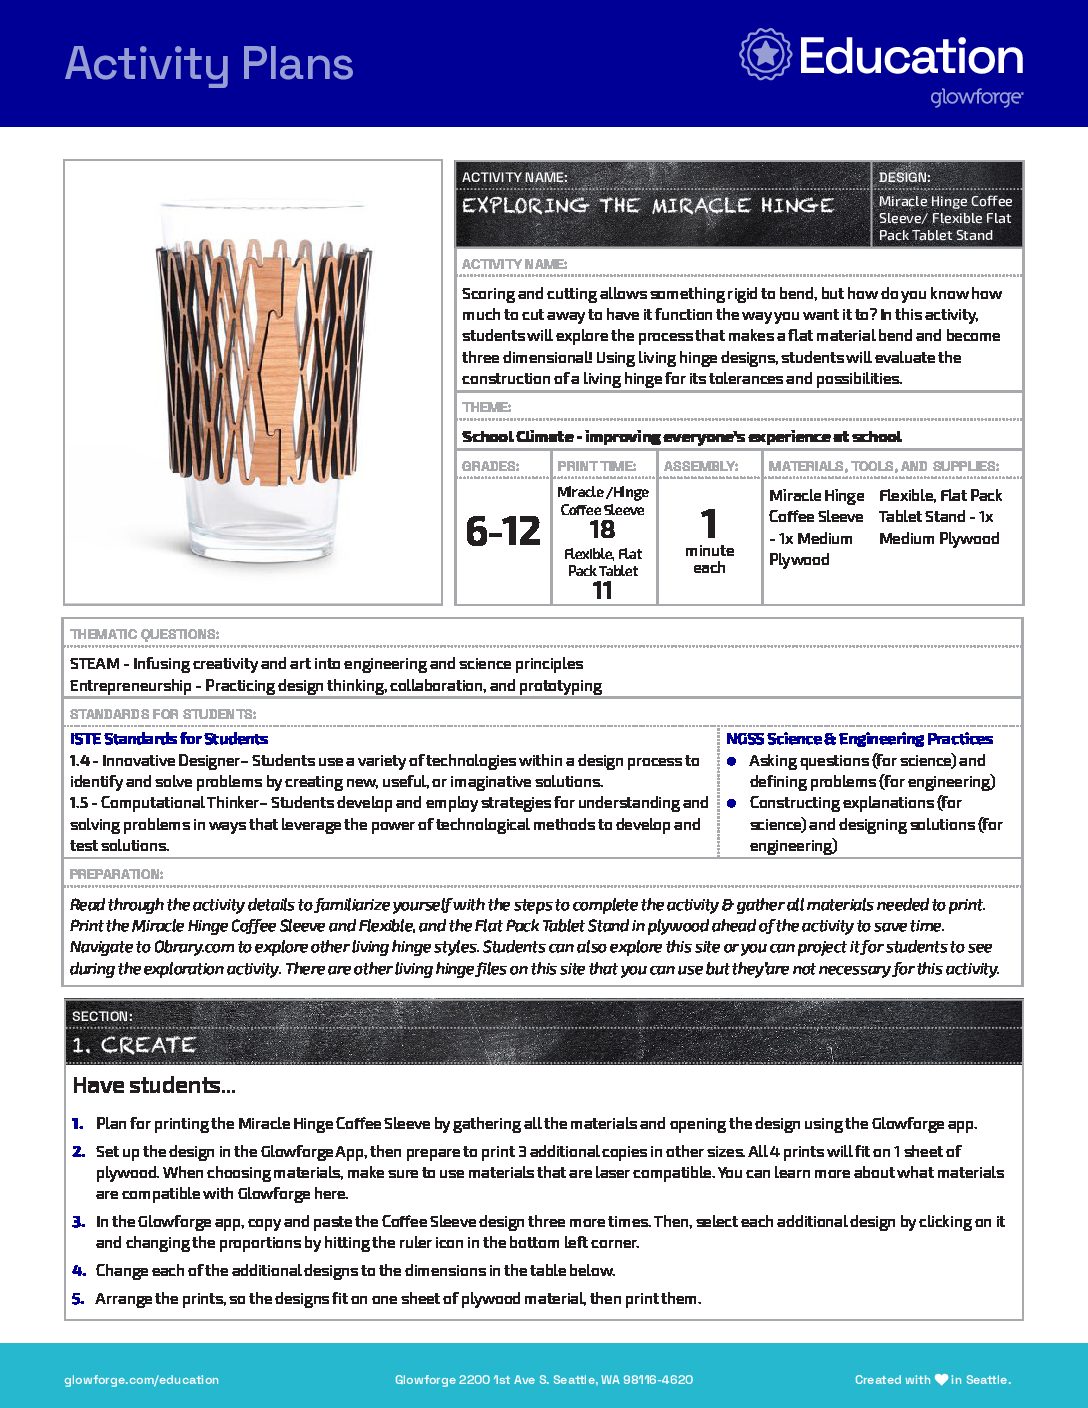
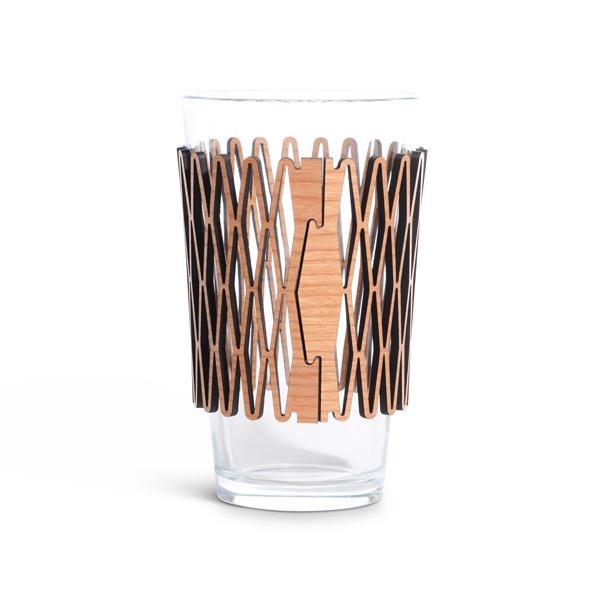
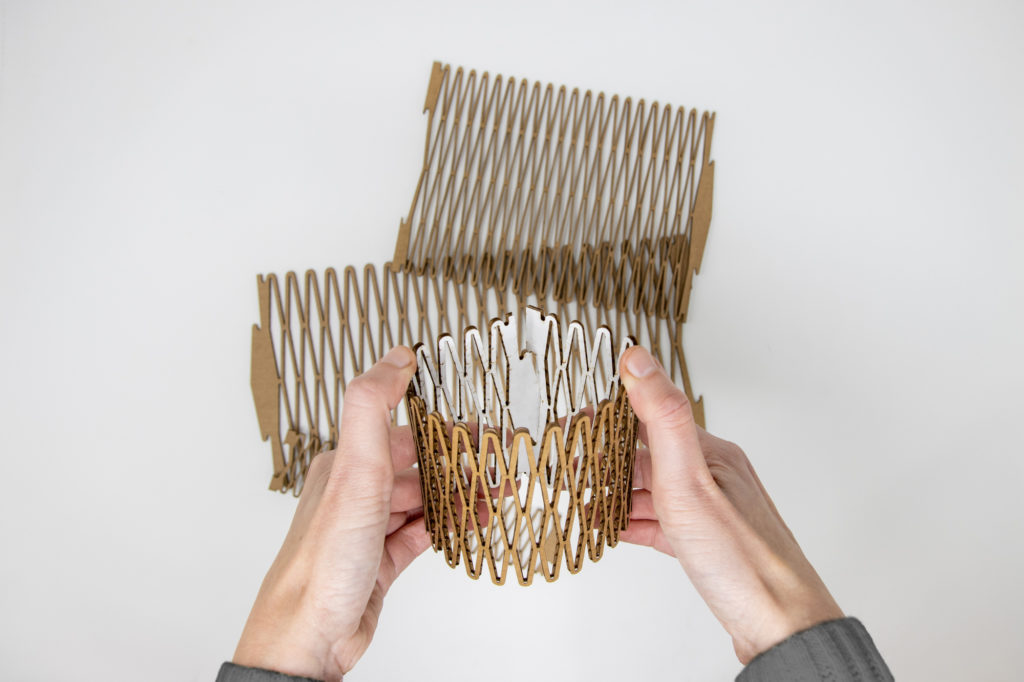
Scoring and cutting allows something rigid to bend, but how do you know how much to cut away to have it function the way you want it to? In this activity, students will explore the process that makes a flat material bend and become three dimensional! Using living hinge designs, students will evaluate the construction of a living hinge for its tolerances and possibilities.
Objective
Thematic Questions:
Standards:
ISTE Standards for Students
NGSS Science & Engineering Practices
Supplies
For each item you will need:
- Miracle Hinge Coffee Sleeve – 1x Medium Plywood
- Flexible, Flat Pack Tablet Stand – 1x Medium Plywood
Catalog Designs
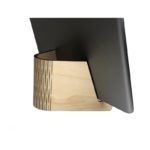
Description
Lesson Outline:
Get Ready:
- Read through the activity details to familiarize yourself with the steps to complete the activity.
- Gather all of the materials needed to print.
- Print the Miracle Hinge Coffee Sleeve and Flexible, and the Flat Pack Tablet Stand in plywood ahead of the activity, to save time.
- Navigate to Obrary.com to explore other living hinge styles. Students can also explore this site or you can project it for students to see during the exploration activity. There are other living hinge styless on this site that you can use but they’re not necessary for this activity.
Production Time:
Print:
- Miracle Hinge Coffee Sleeve – 18 minutes Plywood
- Flexible, Flat Pack Tablet – 11 Minutes Plywood
Assemble – 1 minute each
Lesson Instructions
Section 1 – Create:
- Plan for printing the Miracle Hinge Coffee Sleeve by gathering all the materials and opening the design using the Glowforge app.
- Set up the design in the Glowforge App, then prepare to print 3 additional copies in other sizes. All 4 prints will fit on 1 sheet of Proofgrade plywood. When choosing materials, make sure to use materials that are laser compatible. You can learn more about what materials are compatible with Glowforge here.
- In the Glowforge app, copy and paste the Coffee Sleeve design three more times. Then, select each additional design by clicking on it and changing the proportions by hitting the ruler icon in the bottom left corner.
- Change each of the additional designs to the dimensions in the table below.
- Arrange the prints, so the designs fit on one sheet of plywood material, then print them.
- Plan for printing the Flexible, Flat Pack Tablet Stand by gathering all the materials and opening the design using the Glowforge app.
- Set up the design in the Glowforge App, then prepare to print 3 additional copies in other sizes. All 4 prints will fit on 1 sheet of plywood. When choosing materials, make sure to use materials that are laser compatible. You can learn more about what materials are compatible with Glowforge here.
- In the Glowforge app, copy and paste the Tablet Stand design three more times. Then, select each additional design by clicking on it and changing the proportions by hitting the ruler icon in the bottom left corner.
- Change each of the additional designs to the dimensions in the table below.
- Arrange the prints, so the designs fit on one sheet of plywood material, then print them

Section 2 – Use:
- Display all the prints on one table, or if time and resources allow, print sets for each student group.
- Encourage students to pick up the prints and gently move them to see how the hinges compare.
- As students examine each living hinge, ask: “What do you notice?” and “What do you wonder?”
- Allow students an opportunity to consider the issues that arise when the design dimensions are changed. Then, have them compare the original size of the plywood prints to the manipulated prints. Students might notice:
- The stretched designs will bend easier but also flex on multiple planes.
- The compressed designs will be more rigid and bend less.
- Depending on the size, the radius of the bend and the sturdiness will differ.
Explore more about the mathematical concepts behind a living hinge as well as the limitations of its structure in the articles “Laser-cut Lattice Living Hinges” and “Creating Living Hinges”.
- Have students record their observations and questions on a piece of paper, sticky notes, or poster paper.
- Have each small group partner with another group to share their observations and questions and then collate their findings on a comparison chart. This chart might be a simple venn diagram or even a simple table that has one column for observations and one for questions.
- Ask: “How did changing the size affect the strength, durability, and flexibility of the hinge?” and “Did the width between the cuts affect the ability of the plywood to flex or bend?”
- Allow students time to think and time to share their ideas with others.
- Give students the chance to further explore the possibilities of a living hinge. Share the Obrary.com design images with the students and have them explore the different patterns that can create a living hinge.
- Have students create their own designs for a living hinge based on what they learned in this activity in a third-party design software such as Inkscape.
Reflection Questions:
Help students consider…
- What have you learned about living hinges from this exploration? How do the prints compare when the dimensions are manipulated?
- How might we use the miracle hinge in other designs? What use does a living hinge have beyond a coffee sleeve or a tablet stand?
- How might you change the cuts to be more stable or stiff? How might you change the cuts to be more flexible without breaking?
Pro Tips:
- After the activity is completed, give the original size plywood Miracle Hinge Coffee Sleeves and Flexible, Flat Pack Tablet Stands to a deserving school community member as recognition for their hard work. The tablet stand can be used for book displays too!
- Explore creating other designs with living hinges! There are a variety of tutorials, articles, and files online to help! Inkscape has a living hinge generator students can use. Instructables has a workshop on Curved Laser Bent Wood. Ponoko has a tutorial How To: Design a Living Hinge. Students can also look through the Glowforge catalog for other designs that use living hinges!
Reimagine:
- How could this print be used in a unit on entrepreneurship? For example, students could design, manufacture, and sell coffee sleeves or tablet stands. What considerations or customizations might students include when thinking of their consumers’ needs?
- How could you use this design as a fundraiser for clubs, teams, or classes? Can you customize the color or add space for a logo or words in the Glowforge app? How might you use it as a value add on concession items?
- In addition to a tablet stand, how might Flexible, Flat Pack Tablet Stand be used in other areas of the school community like a display or poster stand in art classes or a book holder in the library?
Meet Glowforge
The magical 3D laser printer that made this lesson possible. Learn more!

