Grade Level
3, 4, 5, 6, 7, 8, 9, 10, 11, and 12
Difficulty
Intermediate
Duration
2 hours
Subjects
Design & technology
Engineering
Physics
Science
STEAM
-
Students use a variety of technologies within a design process to identify and solve problems by creating new, useful or imaginative solutions.
-
Students develop and employ strategies for understanding and solving problems in ways that leverage the power of technological methods to develop and test solutions.
-
– Asking Questions and Defining Problems
– Developing and Using Models
– Planning and Carrying Out Investigations
– Analyzing and Interpreting Data
– Using Mathematics and Computational Thinking
– Constructing Explanations and Designing Solutions
– Engaging in Argument from Evidence
– Obtaining, Evaluating, and Communicating Information
Vocab
Friction
Drag
Speed
Distance
Author
Glowforge
Licensing

Overview
Explore Newton’s laws of motion, hands-on! Friction is a force that can be useful or detrimental depending on where and why it occurs. In this activity, students will identify and describe the phenomena of friction by using the Glowforge to print race cars and then conducting speed and distance trials to explore the effects of friction. Students will also change the weight of their racers to investigate the impact on speed and distance.
Objective
Students will…Thematic Questions:
Outcomes:
Standards:
ISTE Standards for Students
NGSS Science & Engineering Practices
Supplies
For each race car you will need:
- 1x Maple Plywood (Finished) Thick (for each racer)
Other supplies:
- Wood glue
- Small scale
- Weights – found items such as pennies or dimes, washers, small rocks, keys, paperclips,
- or binder clips
- Optional: purchase pinewood racer weights Pine Car Derby Round Weights or Stick-on Weights for Pinewood Derby Cars
- A piece of cardboard 15” or longer
- A small box
- #2 Pencils
- Measuring tape and protractor
- Stopwatch or timer
- Masking tape or colored electrical tape
- Optional: ¼” Dowel cut into two pieces 1.75” and 3”.
- Optional: Handsaw
- Optional: Various textures for the base of the track: sandpaper, sand, gravel, concrete, tile, construction paper, aluminum foil, etc.
- Optional: Paint or other materials to decorate
Catalog Designs
Description
Lesson Outline:
Get Ready:
- Read through the activity details to review the steps for completing the activity.
- Note that there are two different assembly instructions within this activity. Refer to the key below:
- Dowel – Assembly directions steps 2-5
- Axle – Assembly directions steps 6-10
Note: You can use either design, but you will need to purchase the dowel from a hardware store for the Dowel assembly option.
- Gather all materials needed to print the design and additional materials for the experiments.
- Consider having students bring in and use small “found items” to create weight like pennies or dimes, washers, small rocks, keys, paperclips, or binder clips.
- Consider purchasing pinewood racer weights Pine Car Derby Round Weights or Stick-on Weights for Pinewood Derby Cars. These can be ordered online or found in hobby shops.
- This activity can be done in the classroom, but consider other school areas to run additional experiments (i.e., playground, room with a rug, tile or gym floor, sidewalk, etc.).
- Create a ramp for the racers to start on. This can be created with a piece of cardboard, a box, or a few stacked textbooks, and some masking tape. You may be moving it to different areas of the school, so make sure it is stable and reproducible.
- You will be introducing this topic without much preparation so students can explore the concepts of motion and friction hands-on.
Production Time:
Print – minutes – Roadster
Assemble – minutes – Roadster
Print – 11 minutes – Dragster
Assemble – 15 minutes – Dragster
Lesson Instructions
Section 1 – Create:
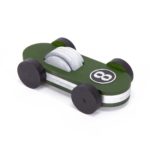
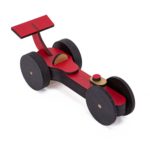
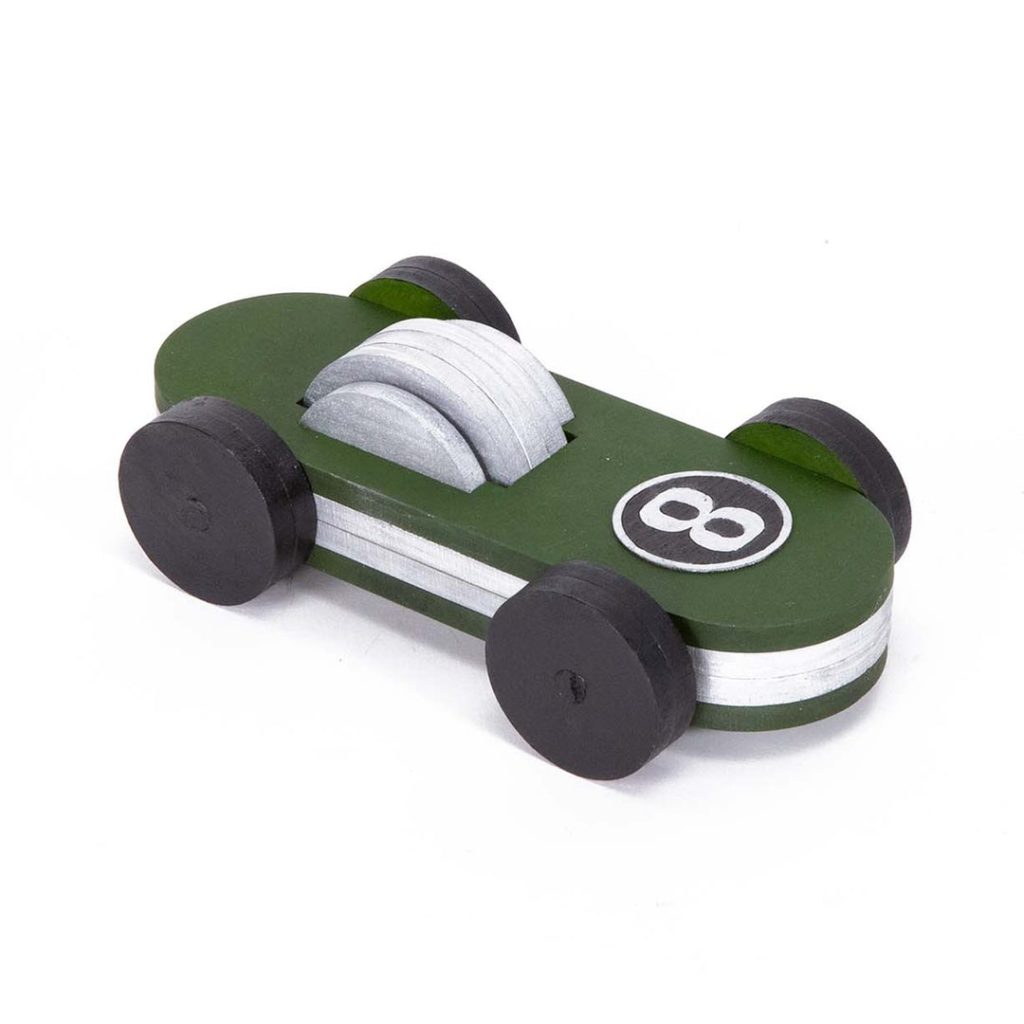
- In small groups of 2-3, have students explore the two printed designs associated with this activity. Then groups will pick a racer design, either the Roadster or the Dragster. Have them choose whether they will use the dowel (if provided) or the axle version of the design. Ask guiding questions to facilitate their choice:
- Which car do you think will be faster? What makes you think that?
- Which axle type do you think will be more suited to your experiment? Why?
- Do you think the body style of the roadster vs the dragster will affect your trials? Why or why not?
- Have students open the design on the Glowforge app and customize the racer with text, shapes, or icons. Then have them print their chosen design. Distribute dowels to groups that need them.
- Have students assemble their racer according to the directions for either the dowel or axle print.
- As students assemble their racers, encourage them to make sure that each axle moves freely. If it sticks, have students use sandpaper to smooth out the dowel.
- Encourage students to use paint and other materials to decorate their racers.
Section 2 – Use:
- Have groups weigh their racer using a small scale and record the weight on paper.
- Have students assist in measuring out an area at least five feet long for the race track area. Mark both the beginning and end with tape. The initial trial area should be flat and smooth, especially if running multiple experiments. Additional trial areas should also be flat, but surfaces can vary.
- Set up the starting ramp at one end of the track. The ramp should have an incline between 45 and 60 degrees. Have students check and record the grade using a protractor. This incline should be the same for each trial.
- One at a time, have groups place their racers at the top of the ramp. Have one student from each group start their stopwatch at the count of 3 as another student releases the racer. The stopwatch should begin on 3 and end when the racer crosses the finish line or stops moving, as the racer may not cross the finish line depending on the surface.
- Have a student measure the length of the trial. Encourage students to measure from the starting line to the racer’s nose, even if it went beyond the finish line.
- Have each group create a table on paper to record the following information.
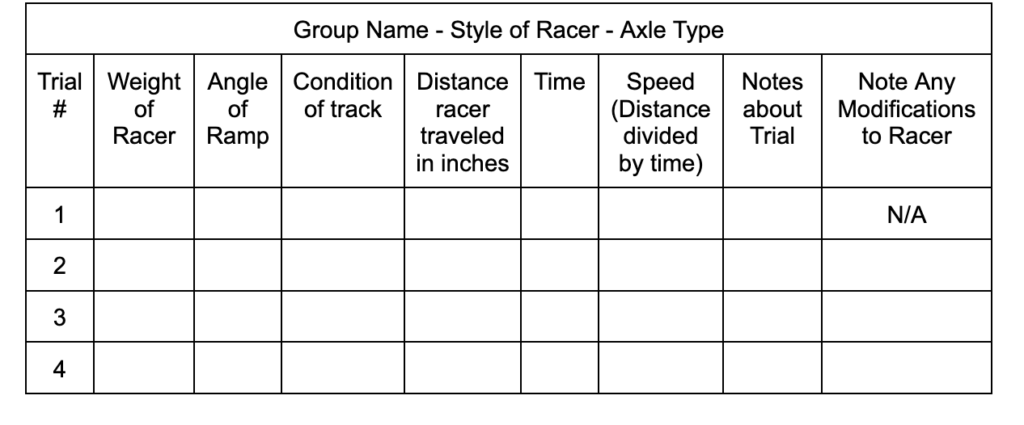
- Compare each group’s results for the first trial run. Create a version of the table on a whiteboard or chart paper. Replace the trial number with the group name. Have each group add their information for trial run number 1 to the table.
- Ask: “What do you notice?” For example, students may notice that heavier racers traveled further or that racers with wheels that spin more freely went further.
- Introduce the term friction. Tell students to rub their hands together vigorously for 20 seconds. Ask: “What happened when you rubbed your hands together?” Students should notice the motion is slowed or that it takes more energy to rub their hands together, and that the rubbing creates heat.
- Have students put a few drops of vegetable oil, lotion, or even soap on their hands and rub vigorously. Ask: “What was different this time?” Students should notice it took less energy to rub their hands together, and there was no heat generated because the surfaces were smoothed by the liquid, creating less friction. Tell students: “All types of matter create friction, including air! But friction can be reduced.”
- Have students wash their hands.
- Ask: “Where do points of friction happen on our racers?” Students should begin to point out areas of friction like:
- Wheels to the racing surface.
- Axle to racer body.
- Air to racer body.
- Point out the way friction affects each of these areas. For example, lots of surface area creates air friction; this is why race cars and planes are very sleek and aerodynamic. If the axle is sticky, it slows the wheels; if the wheels are on a smooth surface versus a rough or uneven surface, they travel further!
- Ask: “Since friction slows things down, how can we reduce friction and make our racers go faster?” Give students time to brainstorm in small groups. Then, have each group develop a list of modifications they could make to their racer to reduce friction.
- Give groups time to modify their racers. Example modifications might include:
- Sanding down the racer bodies, axles, or wheels to be more smooth.
- Adding weight with found objects or provided weights.
- Adding graphite from a pencil to the axle.
- Reducing the decorations to be more streamlined.
- After groups have made their modifications, have them weigh the racers and rerun the trials. Students should record the new information under trial 2 in their table. Students should note any modifications they made to their racer in the final column.
- Have groups discuss why they think the racer’s times decreased or increased. Ask: “What role did friction play in each modification?”
- Run several more trials after altering the track using one or more of the options below.
- Add sandpaper to the ramp or the track, or both.
- Add aluminum foil to the ramp or ball up the aluminum and then unravel it and use it without smoothing it out.
- Add construction paper to the track.
- Move the track to a location that has a rug, wooden floor, concrete floor, or asphalt.
- Have students share their results with the class. Ask them how friction impacted their racer’s performance. Encourage students to explain how their modifications were successful or what they would do differently based on their collected data.

Reflection Questions:
- How did your group reduce friction? Were you successful in creating a faster racer? Why or why not?
- What design modifications worked best? Why do you think they were more successful? How do different track surfaces affect the distance the racer travels?
- What would you change to make your racer faster if you could modify the design in the Glowforge app and reprint it?
Pro Tips:
- Have students test their dowels and wheels to make sure they move and spin freely. If they experience any lag, have them sand the dowel before installing the wheels and finalizing their assembly.
- This activity focuses on friction but consider using the racers throughout a unit on force, motion, and energy! Motion is the direction and speed. Students can calculate the speed of their racer. Force causes changes in motion. Have students change the push or pull on their racer. Explore kinetic versus potential energy.
- To save time, consider having multiple ramps available for each group to conduct their experiment. Also, have students record the grade with the protractor any time they change location.
Reimagine:
- How can we use these racers to demonstrate potential energy in physics? Using the racers, attach an inflated balloon to a drinking straw and attach the straw to the racer. Test different variables to see how they change the propulsion of the racer: larger or skinnier straws, different size wheels, or balloons filled with different amounts of air.
- How can we explore ratios? Have students research and use measurements of the racers to create a ratio to a real-life race car (like a Mazda Miata or a Formula 1 racer). Based on the ratio discovered, create additional components to scale. For example, road signs, figures, garages, or homes.
Meet Glowforge
The magical 3D laser printer that made this lesson possible. Learn more!

