Grade Level
3, 4, and 5
Difficulty
Easy
Duration
1 hour 30 minutes
Subjects
Computer Programming
Computer Studies
Craft
Design & technology
Engineering
Fun
Physical Science
STEAM
Technology
Vocab
Servo Motor, Capacitive Touch
Author
Glowforge
Licensing
Lesson for Download
Lesson Handout
Overview
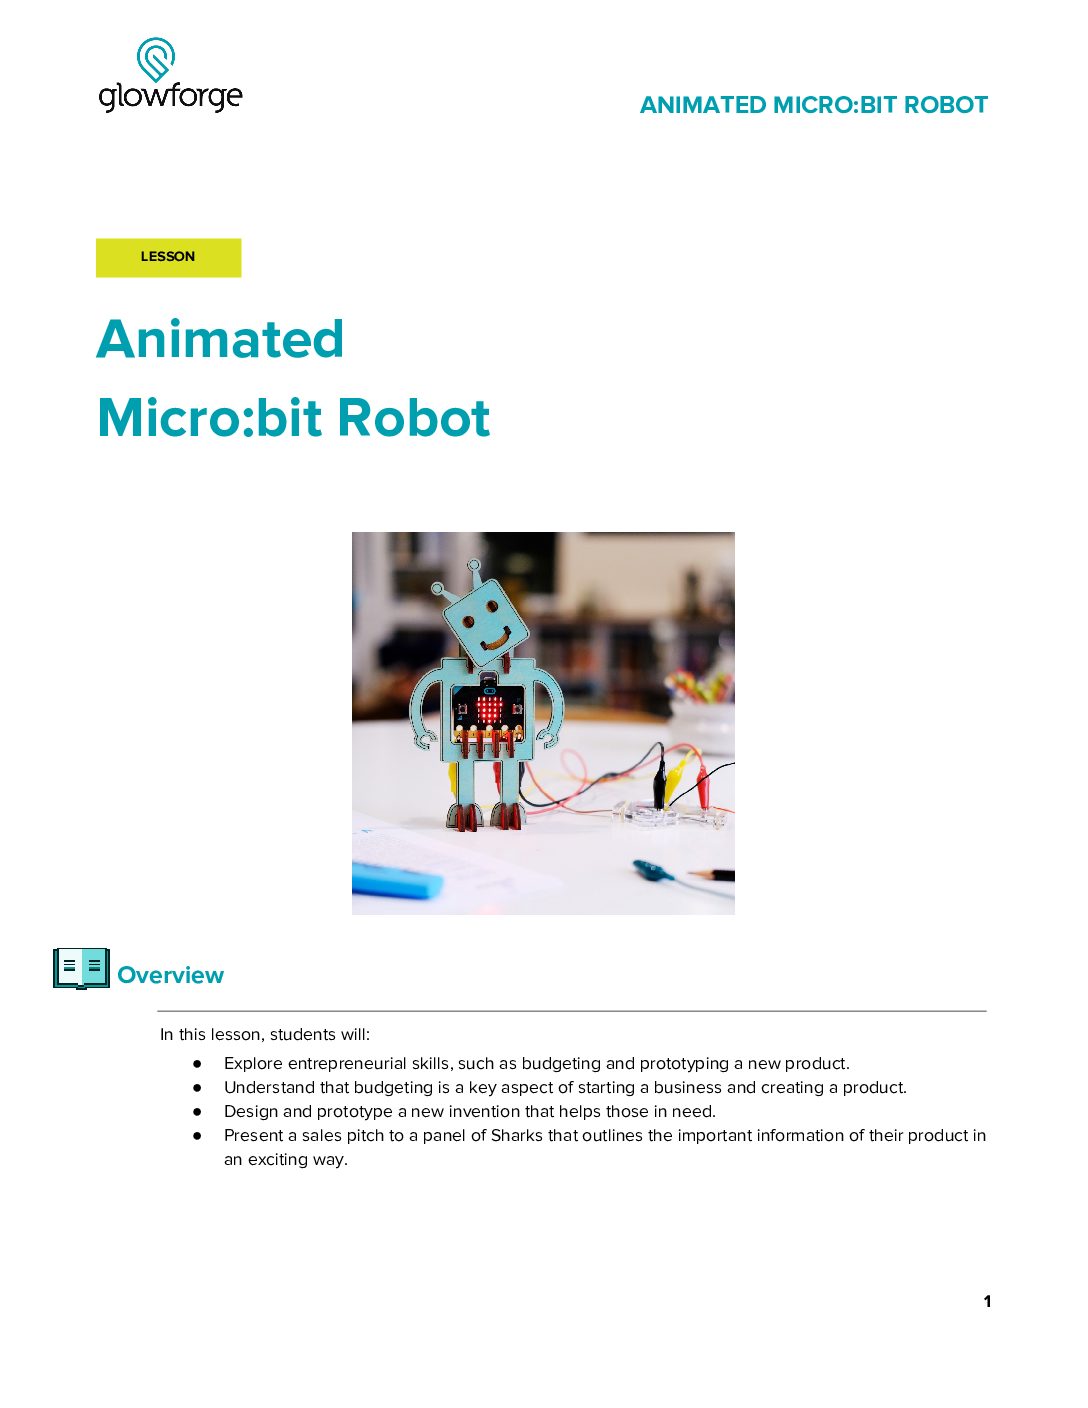
It’s alive!! Channel your inner Dr. Frankenstein while building your very own robot. In this lesson, students will combine the Glowforge App’s amazing design functions with the simplicity of micro:bit coding to create and program their own motorized robots.
Objective
Thematic Questions:
Standards:
ISTE Standards for Students
NGSS Science & Engineering Practices
Objectives:
Supplies
- 1 x Proofgrade Medium Clear Acrylic
- 1 x Proofgrade Medium Draftboard
- 2 medium sized rubber bands
- 3 medium (approximately 28 mm in length), uncoated steel paper clips or a length of 22 gauge connector wire
- micro:bit microcontroller
- Micro USB cable
- Standard 9g servo motor with plastic (not metal) gears
- Note: Most servos come with several types of “horns.” This project will require the horn with two straight arms extending from the pivot.
- Alligator clips (at least 3)
- 3 x AAA battery pack
- Materials for customizing finished design (e.g., markers, stickers, pens, or paint)
- Small screwdriver to attach the servo horn if it is not already attached
- Computer with Internet access to code the micro:bit
Design Files


Description
Lesson Outline:
Get Ready:
- Read through the activity details to review the steps for completing the activity. Consider familiarizing yourself with the following micro:bit resources:
- Gather all of the materials needed to print, assemble, and customize the Animated Servo Motor Robot.
- Have an assembled version of the robot for individuals or groups to explore prior to assembling and using their own.
Lesson Instructions
Section 1 – Create:
- The field of robotics is quickly evolving and engineers are increasingly able to calibrate robots to mimic human movement. This video showcases a Boston Dynamics robot, Spot, performing along with the Rolling Stones to their classic song “Start Me Up.” Watch the video “Spot Me Up” | The Rolling Stones & Boston Dynamics. Ask: “How is the robot able to make the same movements as the band?” Give students time to think and time to discuss as a class.
- If desired, use a video—consider using How Do Cars Work and Move?—to demonstrate how motors work. Explain to students that the robot from the video uses motors. Ask: “What types of things have motors?” Give students time to think and time to share their ideas with the class. As students share, generate a list of their ideas on a white board or chart paper. Their ideas might include:
- Cars and vehicles
- Escalators
- Garage doors
- Divide students into groups of 3-4 and distribute one servo motor to each group to explore. Be sure to attach a plastic servo horn to the motor (see Assembly Instructions for a visual).
- Ask students to firmly but gently rotate the horn with their fingers to observe its range of motion. They should find that the horn can rotate halfway around a circle, a total of 180 degrees.
- Explain to students that this is a servo motor. Servo motors are responsible for the ultra-precise motion of robot arms that can perform tasks as complicated as assembling motor vehicles or allowing surgeons to conduct surgery on a patient from a remote location. Servos can also be found in vehicle controls and toys like remote controlled cars.
- As they explore the servo motor, encourage students to discuss questions like:
- What seems different about this motor from the ones that we listed?
- How could we use this motor to make something move?
- Prepare to print the Animated Servo Motor Robot by using the directions below.
- Animated Servo Motor Robot directions:
- Place a sheet of Draftboard onto the Glowforge print bed and open the Glowforge App.
- Click the Import Artwork button and select Upload to import the Animated Servo Motor Robot design file.
- The red circles in the file should be set to Score and black lines set to Cut.
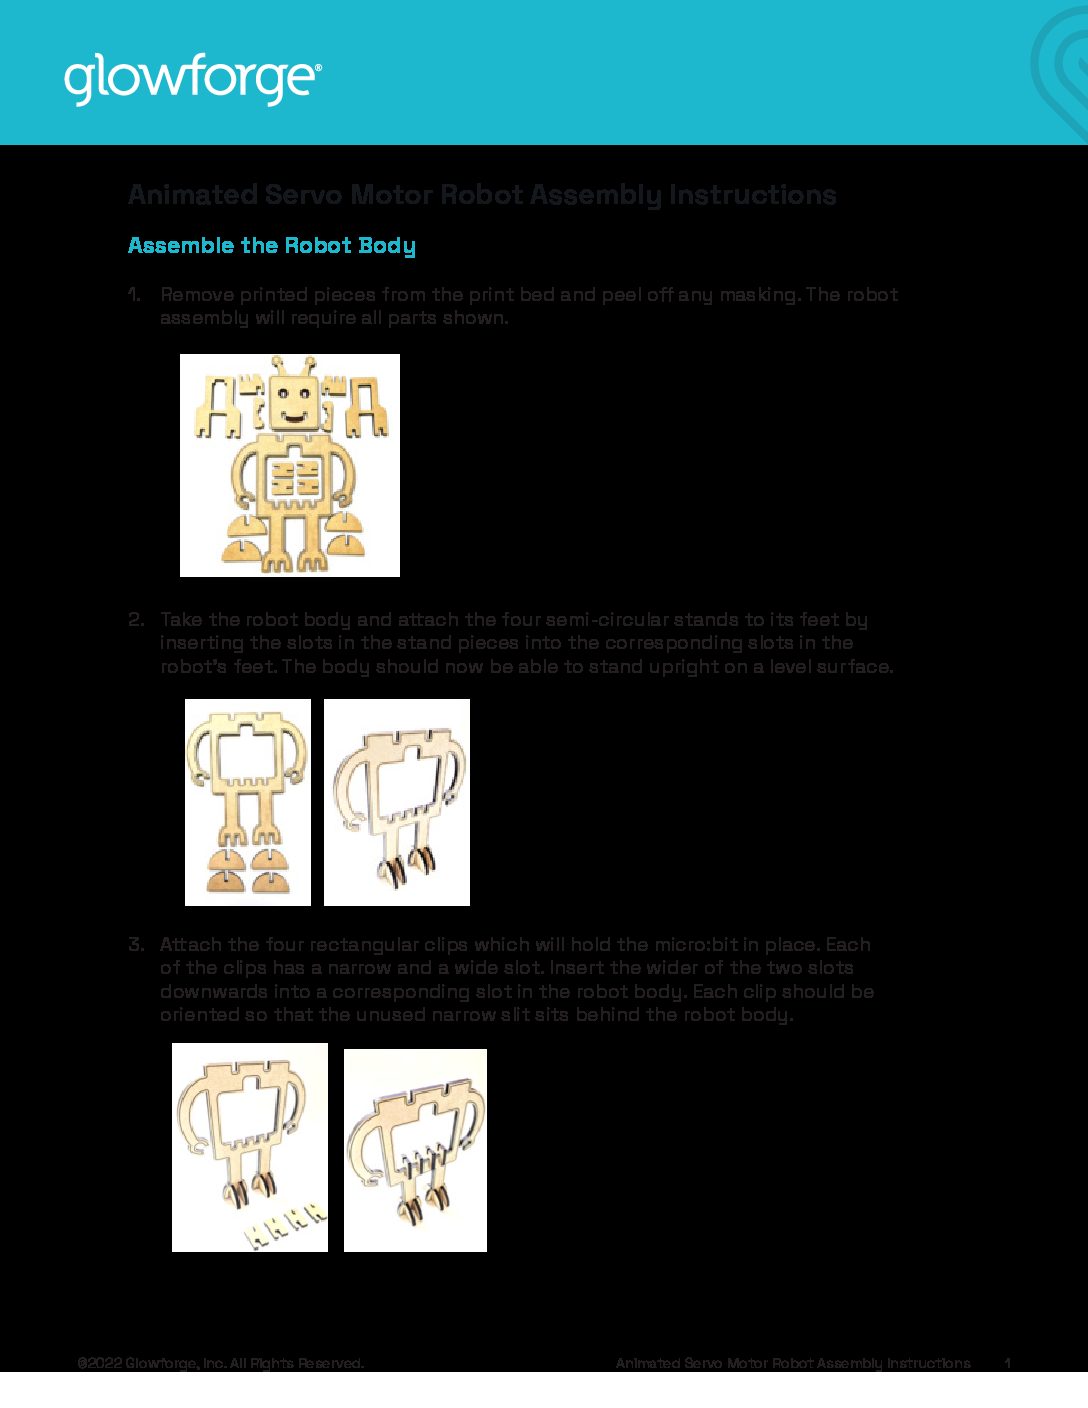
- Once the pieces are cut, remove them from the Glowforge and peel any masking from all wood pieces.
- microbit Servo Connector directions:
- Place a sheet of Proofgrade Medium Acrylic onto the Glowforge print bed and open the Glowforge App.
- Click the Import Artwork button in the Glowforge App and select Upload to import the Microbit Servo Connector design file.
- The red text labels should be set to Engrave and the black outlines of the robot body pieces should be set to Cut. It’s best to instruct the Glowforge App to perform the Cut step after the Engrave steps so that the pieces can’t shift before they’re engraved.
- Once the pieces are cut, remove them from the Glowforge and peel any masking from the acrylic.
- Animated Servo Motor Robot directions:
- Assemble the project by following the steps of the Animated Servo Motor Robot Assembly Instructions.

Section 2 – Use:
- The micro:bit will need to be connected to a computer with a micro USB cable. Insert the micro USB cable to the micro:bit connector without removing the micro:bit from the robot.
- Begin by connecting the servo motor with the micro:bit. Consider referring to the Using The BBC micro:bit To Control A Servo guide.
- If you have never programmed a micro:bit before, the microbit.org site has a getting started guide at Set up | micro:bit.
- Create a program that sends commands to the servo motor to make the robot’s head move. Open MakeCode and consider these tips:
- The code blocks to control a servo motor are in the Pins menu, found in the Advanced menu list.
- The “servo write pin” code block sets the motor position in a range of 0-180 degrees. The robot’s head is upright at 90 degrees.
- Set the value to 0 degrees to tilt it to the left and to 180 degrees to tilt it to the right.
- The pause statements between the servo control blocks are necessary to allow the servo enough time to travel to the specified position.
- A virtual servo motor appears in the emulator window at the left side of the editor window when using the servo code blocks inside the MakeCode code editor.
- Preview the motion of the servo in the code editor before downloading the code to the micro:bit.
- Download and run the program on the Animated Servo Motor Robot.
- As students are working, encourage them to consider the following questions:
- Observe the motion of the servo motor controlling the robot’s head. How long does it take for the servo to travel from one position to the other?
- Does the servo stop at exactly the same place each time it rotates?
- What changes do you need to make to your design or code?
- After students successfully complete the initial 180 degree rotation, ask them to choose an additional challenge. Remind them that after creating their program, they must download it to the micro:bit. Offer students challenges like these options:
- Change the servo motor code blocks to send the robot’s head to different positions.
- Change the time of the pauses between servo motor blocks to make the robot’s head movements occur more or less frequently.
- Choose a song and try to create a program that makes the robot move its head with the beat.
Reflection Questions:
- How was your group able to overcome challenges in constructing and programming your robot?
- Why is it necessary to make a special connector for the servo motor?
- What other parts of the robot could you animate? How, in addition to coding, might you add movement?
Pro Tips:
- You may find the micro:bit doesn’t provide enough power to drive the servo motor. If this is the case, connect the 3xAAA battery pack to the circuit following the Using a servo with the micro:bit guide.
- Refer to the Overview | micro:bit resource to help troubleshoot coding challenges.
- Explore the Glowforge shop for other Proofgrade materials for printing the robot.
Reimagine:
- How can we use buttons to control the robot’s motion? Create a simple program that tilts the robot’s head one way when button “A” is pushed and the other way when button “B” is pushed. Open the Button Control program to create your own before downloading it to the micro:bit.
- How might we expand movement with additional servos? Add additional servo motor code blocks and pause code blocks to the program to create a more complicated pattern of motion. Brainstorm additional uses or creations that you can add motion to with the extra servos.
- What other sensors can we use to control the robot? From capacitive touch and buttons to light and tilt sensors, micro:bits offer many sensor options to trigger your robot’s movement. Mix and match different sensors and coding to customize your robot.
Meet Glowforge
The magical 3D laser printer that made this lesson possible. Learn more!
