Grade Level
Pre-K, K, 1, 2, 3, and 4
Difficulty
Easy
Duration
1 hour
Subjects
Accounting
Algebra
Art
Craft
Design & technology
Engineering
Fun
Mathematics
STEAM
Summer Camp
-
Directly compare two objects with a measurable attribute in common, to see which object has “more of”/”less of” the attribute, and describe the difference. For example, directly compare the heights of two children and describe one child as taller/shorter.
-
Measure and estimate liquid volumes and masses of objects using standard units of grams (g), kilograms (kg), and liters (l).1 Add, subtract, multiply, or divide to solve one-step word problems involving masses or volumes that are given in the same units, e.g., by using drawings (such as a beaker with a measurement scale) to represent the problem.2
-
Organize, represent, and interpret data with up to three categories; ask and answer questions about the total number of data points, how many in each category, and how many more or less are in one category than in another.
-
Students develop and employ strategies for understanding and solving problems in ways that leverage the power of technological methods to develop and test solutions.
-
– Asking Questions and Defining Problems
– Developing and Using Models
– Planning and Carrying Out Investigations
– Analyzing and Interpreting Data
– Using Mathematics and Computational Thinking
– Constructing Explanations and Designing Solutions
– Engaging in Argument from Evidence
– Obtaining, Evaluating, and Communicating Information
Vocab
Balance, Weight, Calibrate
Author
Glowforge
Licensing

Lesson for Download
Lesson Handout

Overview
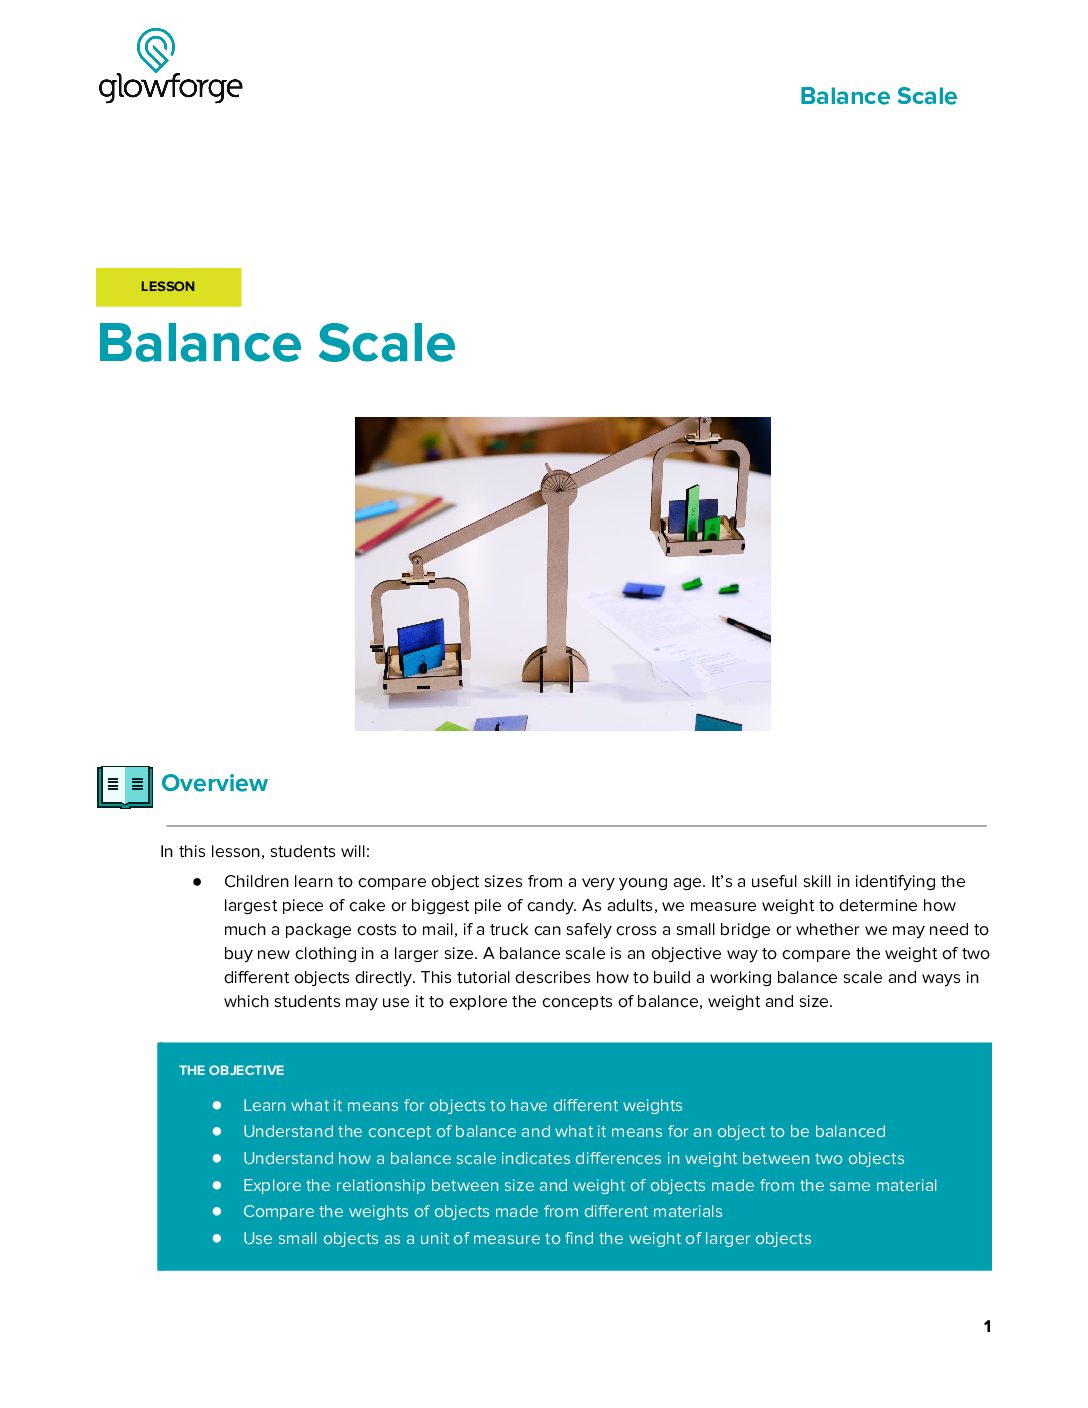
What tips the scales? Being able to compare weight and size is a useful skill in identifying the largest piece of pizza, determining how much soil to add to a gardening experiment, or the right amount of flour when baking a cake. In this activity, students will build and use a balance scale to compare the size and weight of common classroom objects.
Objective
Thematic Questions:
Standards:
ISTE Standards for Students
NGSS Science & Engineering Practices
Objectives:
Supplies
For each Balance scale you will need:
- 1 x Medium Draftboard
- 1 x Medium Acrylic – any color
- 2 or 3 medium size paper clips
- Assortment of small items to weigh on the scale
- Wire cutter
- Needle nose or pointed nose pliers
- Materials for customizing finished design (e.g., markers, stickers, pens, or paint)
- Optional: Draftboard for calibration and balance weights
Design Files


Description
Lesson Outline:
Get Ready:
- Read through the activity details to review the steps for completing the activity.
- Gather all of the materials needed to print, assemble, and customize the Balance Scale.
- Have a printed version of the Balance Scale design for individuals or groups to explore prior to assembling and using their own.
Lesson Instructions
Section 1 – Create:
- Watch Mass vs. Weight: Introduction and discuss the following questions as a class:
- How would you describe weight?
- If you are given two objects, how can you tell which one is heavier?
- What does it mean for objects to be heavy or light?
- How do we measure the weight of objects in our everyday life?
- As a class, brainstorm a list of terms associated with weight. Write ideas on a white board or a chart paper. Terms may include words like scale, pound, heavy, light, less, or more.
- Divide students into groups of 3-4.
- Ask: “What does “balance” mean?” and “Can you name examples of things that are balanced?” If students seem stuck, provide examples like the ones below.
- When you attempt to balance yourself on one foot, you are trying to stay upright.
- If you’ve ever played on a see-saw on the playground, you may have noticed that it is much easier to operate when the people on either side are about the same weight.
- When you are using a tray or something else with a flat surface to carry multiple objects, it’s easier if the objects are balanced on the tray by weight rather than having all the heavy objects on one side and the lighter objects on the other.
- Ask: “How can we determine which of two objects is heavier without using an electric scale?” Give students time to think and time to discuss their ideas with their small groups.
- Ask: “Do the methods that your group came up with work well with very small objects (e.g. pennies) and very large objects (e.g. toy trucks), or are different techniques required to compare weights of small and large objects?” Give students time to think and time to discuss their ideas with the class.
- Each group will build and use a Balance Scale to directly compare the weight of different objects to each other.
- Plan for printing one Balance Scale per group of 3-4 students by gathering all of the materials and reviewing the design in the Glowforge app.
- Print the BalanceScale.svg and Washers.svg, and if using, CalibrationWeights.svg and BalanceWeights.svg designs. Organize them into sets so that each group has the pieces needed to construct a scale. To save time, printing can be done before beginning the activity.
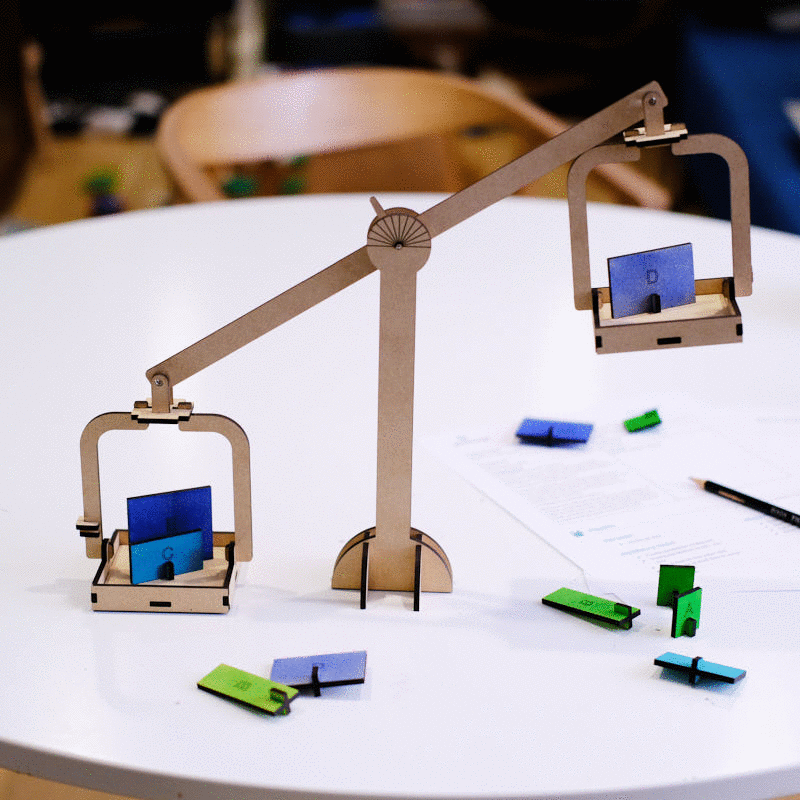
- Have groups assemble and calibrate the scale by following the steps of the Balance Scale Assembly Instructions. As they work, explain to students that a balance scale has a long, straight arm (balance arm) which can pivot at its center. If two objects are placed at opposite ends of the arm, equidistant from the pivot, the balance arm will tip, lowering the heavier object and raising the lighter one.
- Encourage groups to test their Balance Scale by weighing two, small identical items such as pennies. If calibrated correctly, the scale will be balanced. If the balance isn’t level it can be calibrated using the printed Calibration Weights. Add Calibration Weights until the scale is balanced.
- As a class, discuss:
- What were the biggest challenges in constructing and calibrating the Balance Scale?
- How well do the pieces fit together?
- Is there anything that needs to change to make the Balance Scale work better?

Section 2 – Use:
- In groups, gather a few small objects from around the classroom to compare using the Balance Scale. Good items to use include coins, paper clips, batteries, or similar, small objects.
- Have groups make a chart for their predictions and results. The chart could look similar to the one below.
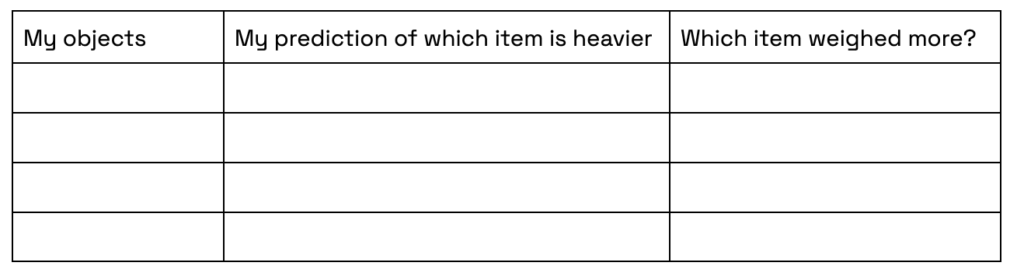
- Have groups select two different items of similar size. Before weighing the items, ask: “Which one is heavier?” and “How can you use the scale to determine which item weighs more?” Have students record their predictions on their chart.
- Encourage students to place each item in a different basket on the scale and watch where the baskets come to rest. The basket with the heavier item will sink downwards while the other basket gets lifted up by the balance arm. Have students fill in their chart with the results. Repeat making predictions and comparing objects 4-5 times using different item combinations each time.
- For an added challenge, ask: “How can we create new units of measurement with common classroom items?” Give students time to think and time to share their answers with the class.
- Explain to students that around the world, people use terms like pound, gram, ounces, and kilogram to compare weights and that they are going to create their own, unique standard of measurement.
- Have groups pick a common item around the classroom like a paperclip, penny, or folded piece of paper that will be a new standard unit for measuring weight. Encourage groups to see how many of the items that they picked it takes to balance a pencil, dry erase marker, or other common classroom item.
- After weighing each of their items, have groups write a measurement challenge on a strip of paper such as “Which items weigh five paper clips?” or “How many pennies does a marker weigh?”
- Have groups trade measurement challenges with other groups and see if they can figure out their challenge.
Reflection Questions:
Help students consider…
- Are larger items always heavier than smaller items?
- What challenges did your group face when trying to assemble your Balance Scale? How were you able to solve the problem?
Pro Tips:
- Keep the paper clips used as axles as straight as possible for the most accurate Balance Scale results.
- If the balance is not level, it can be calibrated. Use the Glowforge to cut the U-shaped clips from the file CalibrationWeights.svg. Cut them from Proofgrade Medium Draftboard with all lines on the cut setting.
Reimagine:
- How can we use a balance scale to create a chain reaction? Introduce students to Rube Goldberg machines: contraptions that use a chain reaction to carry out simple tasks in complicated ways. Consider using a resource like What is a Rube Goldberg Machine from Wonderopolis and a video demonstration of a Rube Goldberg machine in action. Encourage students to consider how their balance scale could be used as a part of a Rube Goldberg machine to create a chain reaction. Have students work in groups to design their contraptions, make predictions about how they will work, and build and test their designs.
- How might we use Balance Weights to help compare and order items around the class? Select an assortment of 4 or 5 (or more) different items. On a piece of paper, make a two column table and write the list of the items on the left-hand side. Use the Balance Scale and Balance Weights to measure each item. Create a new list containing the same items ordered by their weights, with the lightest item first and heaviest item last.
Meet Glowforge
The magical 3D laser printer that made this lesson possible. Learn more!
