Grade Level
3, 4, 5, 6, 7, 8, 9, 10, 11, and 12
Difficulty
Intermediate
Duration
1 hour
Subjects
Art
Citizenship
Craft
History
Student Gifts
Teacher Gifts
-
Students critically curate a variety of resources using digital tools to construct knowledge, produce creative artifacts and make meaningful learning experiences for themselves and others.
-
Students communicate clearly and express themselves creatively for a variety of purposes using the platforms, tools, styles, formats and digital media appropriate to their goals.
Vocab
Luminary
Heroes
Author
Glowforge
Licensing
Lesson Handout
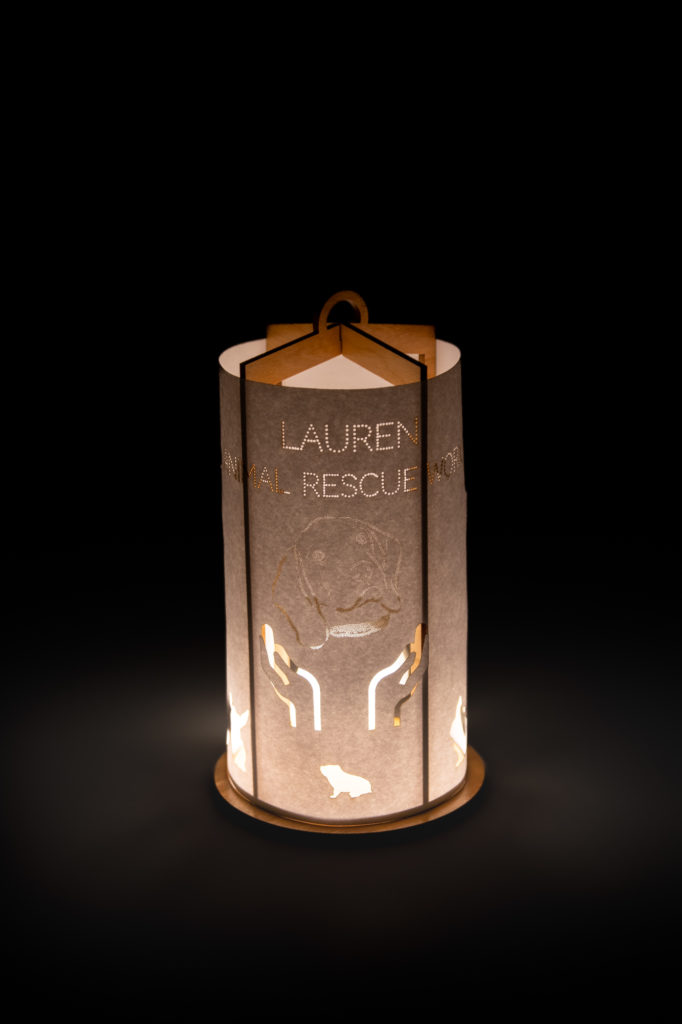
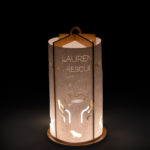
Overview
Heroes are everywhere! Community heroes make a positive difference by helping others. For example, they might visit the lonely, pick up litter, volunteer at a food pantry, or even put out fires! Their actions can be large or small and sometimes go unnoticed, but they make the community a better place. In this activity, students recognize local heroes and honor them with a luminary highlighting their community contributions. These honorific luminaries can be displayed throughout the community, recognizing important contributions and inspiring others!
Objective
Students will…Thematic Questions:
Outcomes:
Standards:
ISTE Standards for Students
Supplies
For each luminary you will need:
- 1x Plywood (Finished) Light
- 20lb Copy paper
- LED Tea Light
- Tape or glue
- Poster paper
Catalog Designs
Design Files
Description
Lesson Outline:
Get Ready:
- Read through the activity details to review the steps for completing the activity.
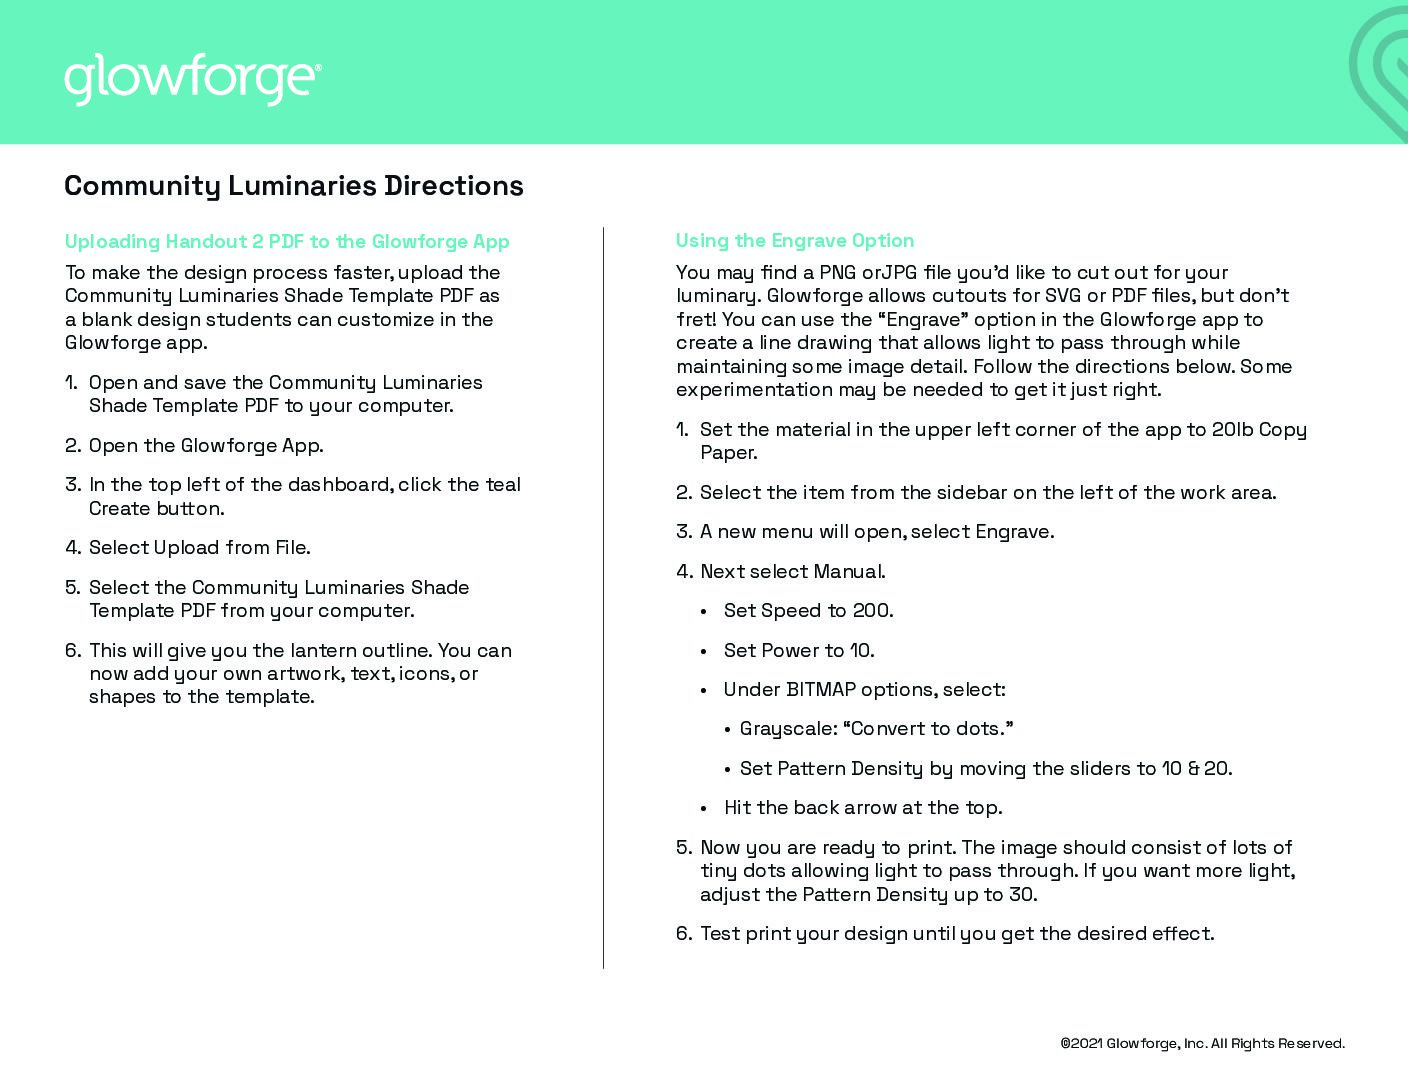
- Read the directions in the Community Luminaries Directions handout for more details to help inspire successful designs.
- Gather all of the materials needed to print.
- Purchase LED tea lights in advance.
- Consider printing the stands you will need in advance to save time.
- Print out copies of the Community Luminaries Shade Template handout for each student.
- Put the Community Luminaries Shade Template handout in a shared folder so students can access the PDF file or you can upload it to the Glowforge app for your students in advance. Once you upload it you can rename the file to the student or group’s name for easy management.
- Contact a community space, like a public library or town hall, and ask if you can display the community luminaries.
- Consider creating and printing an example luminary for students to explore.
Production Time:
Print – Time will vary with each design Assemble – 5 minutes
Rubric:
Use this optional rubric for student self-reflection or formative feedback throughout the Community Luminaries experience. 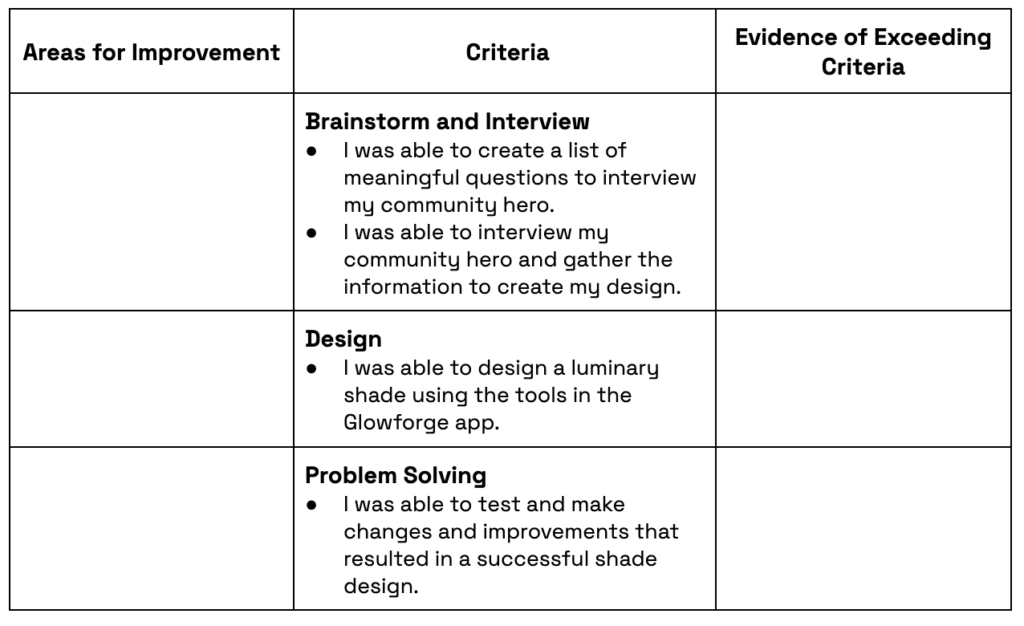
Lesson Instructions
Section 1 – Plan:
- Introduce the idea of a hero to students. Ask: “Who are examples of both real and fictional heroes?” Give students time to think and time to share their ideas with the class.
- After students have shared a few ideas –perhaps superheroes, famous people, or heroic professions like firefighters or medical workers–remind them that anyone can be a hero when making the world a better place. Things like fighting for justice, mentoring a child, or volunteering at an animal shelter are all heroic acts.
- Ask: “What attributes or characteristics do heroes possess that make them heroic?” Collect these ideas on a whiteboard or chart paper.
- Have students identify a community hero. This should be a person who does something to help others in need or tries to make the world a better place. Ask:
- Who is a hero in your community?
- What places in the community might you find a hero?
If they don’t know a hero personally, encourage students to reach out to an organization they are interested in, like a local animal rescue, and interview a volunteer or organizer.
- Tell students they will be interviewing their community hero and creating a luminary to honor them and their work. Allow students to explore the example luminary to build interest and inspire their ideas.
- Have students work in small groups to brainstorm questions they want to ask during their interview with their hero. Each group should write their questions on poster paper. These questions might include:
- How did you get involved with this work/organization?
- Why did you want to get involved with this work/organization?
- How does this work/organization directly impact the community?
- How has getting involved in this work/organization changed how you think about service?
- What have you learned from this experience?
- What do you love most about what you do?
- Have each group post their questions on a wall and then have the class do a gallery walk of all the questions. Encourage students to write down any compelling questions they find to use in their interview. By the end of the gallery walk, students should have 5-7 questions to ask their hero during their interview.
- Give students time to interview their heroes. If they don’t personally know their hero, they can interview someone who knows the hero. Encourage students to reach out to their hero via:
- Email;
- Video calls; or,
- Phone calls.
- After the interviews are complete, review the Community Luminaries handout directions to show students what graphics and fonts will work best on a luminary shade. Consider demonstrating several graphics cut into copy paper with your Glowforge, so students understand how graphics and fonts allow light to show through the luminary’s shade.
- Select several versions of the same graphic, like a flower or an animal, and add them to the design.
- Add a simple sentence in several different fonts.
- Print on copy paper using the Glowforge. Then hold a piece of bright, contrasting paper behind the print.
- Have students discuss print issues like where the graphics lose detail or the font becomes hard to read.
- Have students plan their design on the Community Luminary Shade Template handout. Students should think of symbols to represent their community hero’s contributions. The luminary shade should include:
- Their hero’s name;
- The name of the organization or the work they do; and,
- Symbols to represent their hero.
- Have students leave 1.25” of white space on either short side of the design. This is where the luminary shade will overlap to tape or glue together.
Section 2 – Customize and Create:
 Have students…
- Open the Glowforge app.
- If the design files are preloaded, have them locate their file and open it.
- If students will upload the file, have them select Create in the top left of the dashboard. Select upload from file and select the appropriate file. Remember that in order to cut out their designs, the design must be created as a vector file and saved as either a PDF or SVG.
- Add symbols, text, and other artwork to the design by clicking the Plus + and choosing the Add Artwork option. They can use graphics and fonts from the Glowforge library or use the Trace and Print tool to upload artwork created by the student.
- Print their design, checking to make sure there are no typos and that the graphics, fonts, and trace they used will work effectively with the luminary shade. To test this, put a piece of brightly colored paper behind the luminary shade and look at it from a few feet away. If there are any issues, students should fix their design and reprint their luminary shade.
- Assemble the lantern base according to the directions in the Glowforge app.
- Assemble the luminary shade.
- Bring the short ends together to overlap by about 1”.
- Fold the tabs over the long edges to help keep the shade in line.
- Gently place the shade over the stand and carefully tighten it to fit.
- Affix strips of tape where the paper overlaps and on the inside to keep the tabs in place. The shade should fit snugly so the light passes through the luminary shade and not any gaps.
- Gently move the shade up, turn on the LED candle, and replace your luminary shade.
Section 3 – Use:
Ask students to…
- Plan and host a ceremony to recognize community heroes. Invite their local community heroes to the honor ceremony. Put the assembled luminaries on display for the community to enjoy.
- Have students introduce their community hero and explain why they are being honored.
- Consider giving the community heroes their luminaries after displaying them for a set amount of time or repurposing the stands for another event.
Reflection Questions:
Help students consider…
- What challenges did you encounter creating your design? How did you solve them?
- What’s one thing you have seen in your classmates’ designs that you would like to add to your own?
- What did you learn about customizing and creating a design using the Glowforge app? What might you do differently next time?
Pro Tips:
- Try using different colored paper for the luminary shades to add more color to an event!
- Try a multi-layered design with two colors of paper and different shapes cut from each one. Ask students to explore the effects they can create by cutting through one or both layers
- Make sure the border outline for the luminary shade is the last cut in the tray on the left-hand side of the dashboard. If it cuts the paper first, the fan may cause it to move around during the rest of the printing process.
- Highly detailed icons lose their detail as cutouts on a luminary shade. Instead, look for simple designs or designs with lines that don’t connect or close. See the Community Luminaries Directions handout for more details and examples.
- The engrave option works well for line drawings that have more detail. Use the settings recommended on the Community Luminaries Directions handout. Remember, the engrave option takes longer to print and lets less light through, so consider using that option sparingly.
- Use the copy feature in the Glowforge app dashboard to make uploading files for students faster. Click on the design, and use carrot in the top right corner of the uploaded design to access the copy and rename options.
Reimagine:
- How can we make our spaces more inviting or interesting? Have students create artistic designs for lanterns to beautify the school or classroom. Or consider partnering with a retirement community and gifting the lanterns to residents as decorations for their rooms.
- How can we recognize special occasions with a meaningful souvenir of the big event? Create commemorative luminaries with customized designs for special events like moving up ceremonies, graduation, prom, or retirements.
- How can we use student-designed luminaries to raise money? Have students create designs related to a fundraiser for a class trip, team equipment, or club resources. Auction or sell the luminaries at events to raise money!
Remix:
Have students…
- Practice their understanding of theme, character traits, symbolism, or mood by creating book luminaries that use graphics and quotes to represent things they’re reading. Put the luminaries on display in the library or a common area for others to enjoy.
- Have students create luminaries for historically significant people or moments. Research an event or person and then create a design representing this person. Use the engrave option to put a person’s likeness on the luminary shade or add a quote and graphics to represent the event or person.
Meet Glowforge
The magical 3D laser printer that made this lesson possible. Learn more!
