
Grade Level
3, 4, 5, 6, 7, and 8
Difficulty
Intermediate
Duration
1 hour
Subjects
Art
English
Geography
History
Humanities
Reading
Social Studies
U.S. History
-
Students communicate clearly and express themselves creatively for a variety of purposes using the platforms, tools, styles, formats and digital media appropriate to their goals.
-
Students use digital tools to broaden their perspectives and enrich their learning by collaborating with others and working effectively in teams locally and globally.
Vocab
Diorama
Community
Characters
Features
Author
Glowforge
Licensing
Lesson Handout
Overview
Every location has its own story. Empower students to tell their community’s story visually with Community Shadowbox Dioramas! In this activity, students create customized dioramas by adding artifacts, photos, or other mixed-media that capture their community’s values, history, and culture. Partner with a local historical society, town hall, civic organization, or library to display the finished dioramas.
Objective
Students will…Thematic Questions:
Outcomes:
Standards:
ISTE Standards for Students
Supplies
For each diorama you will need:
- 3x – Maple Plywood
- Wood glue
- Materials for customizing the Community Shadowbox Dioramas (e.g., markers, stickers, pens, or paint)
- Popsicle sticks
Catalog Designs
Description
Lesson Outline:
Get Ready:
- Read through the activity details to review the steps for completing the activity.
- Open the Family Artwork Shadowbox Diorama design in the Glowforge app. Sometimes, more complex designs require different materials or multiple sheets of material. They will also show in your Dashboard as a few separate prints. For these designs, just print them in order and follow any instructions in the design details window. Note that there are three designs associated with this activity. Refer to the key below:
- Print 1 – (1. Medium Plywood) Family Artwork Shadowbox Diorama
- Print 2 – (2. Medium Plywood) Family Artwork Shadowbox Diorama
- Not used: Print 3 – (3. Medium Plywood) Family Artwork Shadowbox Diorama
- Gather all of the materials needed to print, assemble, and customize the Community Shadowbox Dioramas.
- For this activity, you will use the Trace and Print Tool to turn your idea into a design.
- Have a printed version of the design as an example for students.
Production Time:
Print – 27 minutes
Assemble – 10 minutes
Lesson Instructions
Section 1 – Plan:
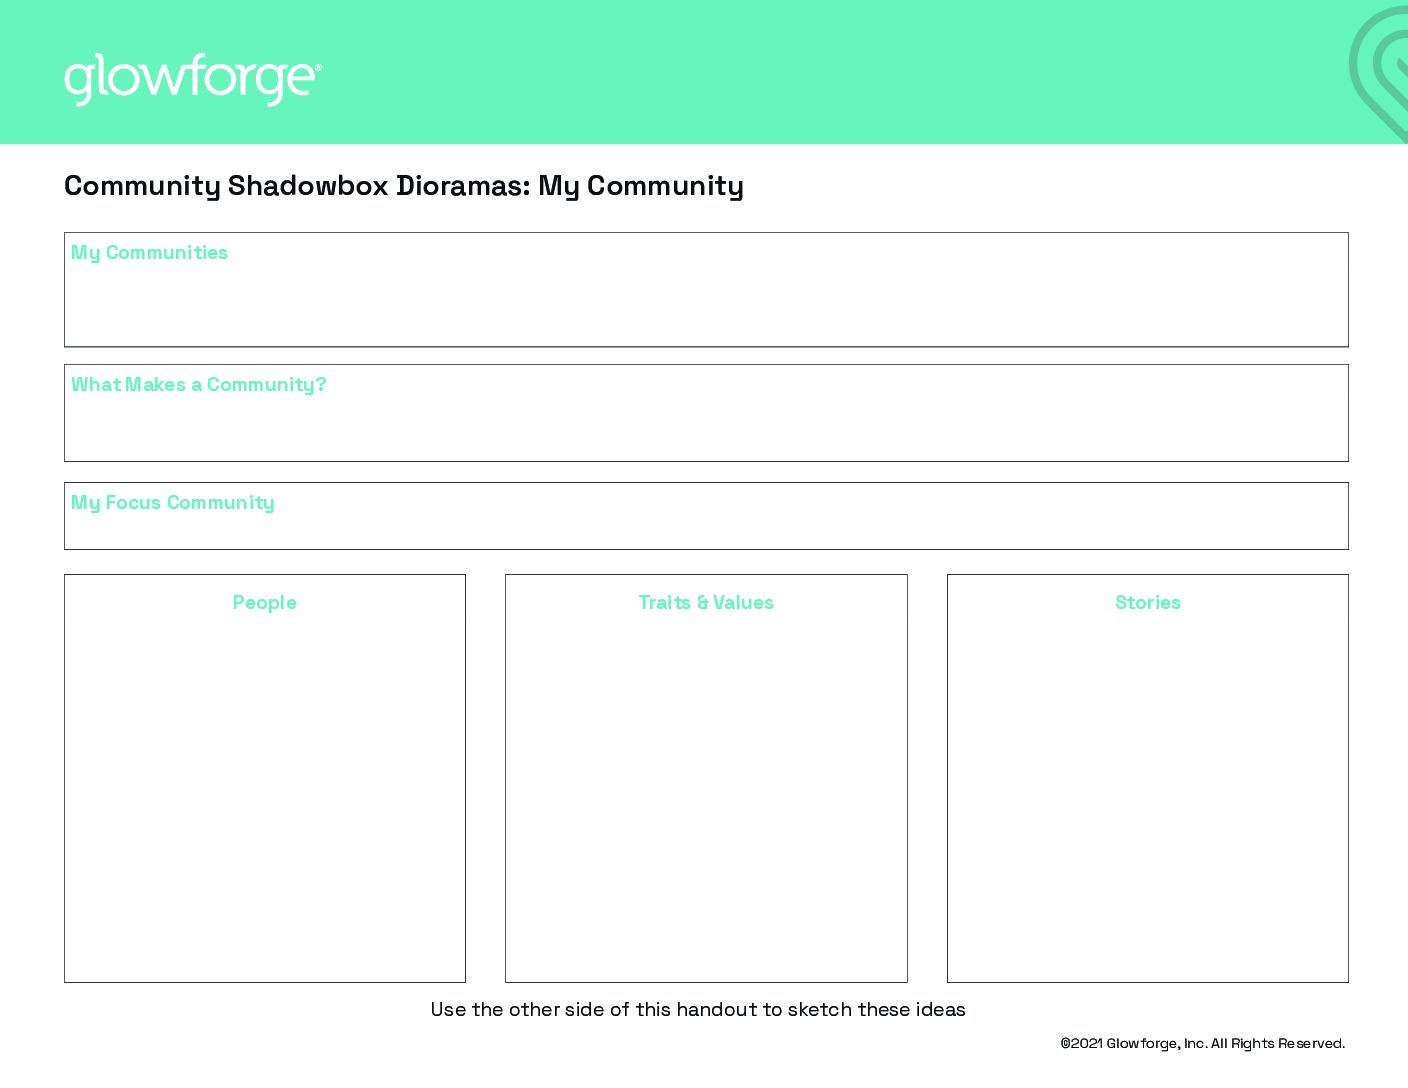
- Use the Community Shadowbox Dioramas handout to brainstorm elements of students’ communities and provide a space to sketch symbols or people that represent community traits.
- Have students consider what communities they are a part of. Students should write or draw responses as individuals or small groups in the appropriate space on the Community Shadowbox Dioramas handout. Give students time to share their responses with the class and record them on a whiteboard or chart paper.
- Ask: “What makes a community?” Have students write or draw responses as individuals or small groups in the appropriate space on the Community Shadowbox Dioramas handout. Give students time to share their responses with the class and capture them on a whiteboard or chart paper.
- After sharing with the class, have students revisit their Community Shadowbox Dioramas handout and select one community they belong to.
- Encourage students to use the Community Shadowbox Diorama handout to brainstorm stories, memories, people, or traits of their chosen community that could be highlighted in their Community Shadowbox Diorama. Scaffold this activity for students by having a group brainstorm or providing a word bank prior to students completing this section of the handout. Consider using this simple brainstorming framework from Edutopia.
- Pick a question to solve. What people, stories, or traits and values represent my community?
- Assign roles. Who is going to facilitate the discussion? Who will write ideas down?
- Set a time limit.
- Write all the ideas down and organize them.
- Select the best ideas.

Section 2 – Customize and Create:
Have students…
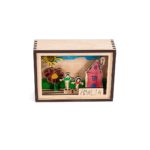
- Work individually or in small groups to explore the sample Community Shadowbox Diorama, noticing its characters, features, and items. Ask: “How does the diorama use characters, features, and items to represent the community?” Give students time to think and time to share their ideas with others.
- Use the back of the Community Shadowbox Dioramas handout to consider how they can represent their ideas visually with drawings, popsicle stick figures, or found items. Encourage students to sketch their drawings in the spaces provided.
- Use the Glowforge app’s Trace and Print tool to scan their drawings and import items that they would like to print.
- Consider if any design elements need an outline around them to signify cuts. If an outline is needed, use the Glowforge app’s Outline Tool to create a new outline. Adjust the size of the outline between the recommended 1/8th to 1/4 inch (3-6mm).
- Use popsicle sticks, art supplies, and found items to create additional objects for their Community Shadowbox Diorama. For example, objects may include souvenirs from a local event, fallen leaves from a greenspace, or symbols that represent a civic organization in the community.
- Consider using the Glowforge app to add text, icons, or additional drawings to customize the Community Shadowbox Diorama design to better represent their community. For instance, students might include a Girl Scouts symbol, local sports team logo, or community phrases such as “Keep Austin Weird” or “Always be prepared.”
Section 3 – Use:
Ask students to…
- Use Print 1, Print 2, and any of their custom designs to print and assemble their Community Shadowbox Dioramas. As they are assembling their dioramas, ask:
- What changes need to be made to your design?
- After assembling the Community Shadowbox Diorama, add and arrange all of the printed icons, objects, and people inside.
- Display the Community Shadowbox Diorama in a public place in the community or at school.
Reflection Questions:
Help students consider…
- How do you define community? How did your Community Shadowbox Diorama showcase those attributes?
- How do we share pieces of a community with others outside of the group? Why is it important to learn about other communities outside of the ones that you’re a part of?
- Communities and the stories that they tell continue to change. How might your Community Shadowbox Diorama impact how your community tells its story in the future?
Pro Tips:
- Create prototypes prior to doing final prints using cardboard for test prints. Just remember that if the design uses joinery such as slots or finger joints, these may need to be adjusted to suit the prototyping materials.
- Connect with local organizations, assisted living communities, or local government groups such as the public library or city hall to display your Community Shadowbox Diorama.
Reimagine:
- How might students augment the visual story their Community Shadowbox Diorama tells with audio or video clips? Record interviews with community members. Add QR codes or FlipgridAR codes that link to the interviews. Consider printing QR codes on address label stickers and attaching them to the back of the Community Shadowbox Diorama or directly to the characters to bring them to life.
- How can students showcase their family stories and cultures using Shadowbox Dioramas? Collaborate with family members to create and customize a diorama that represents the family’s culture, traditions, or stories. Think of creative artifacts to include in the Shadowbox Diorama that symbolize important aspects of the family.
- How can we preserve the stories of older community members? Connect with an assisted living community or family members to capture and highlight their life stories as a Shadowbox Diorama.
Remix:
Have students…
- Consider their own heroes’ stories! From Homer’s Odyssey to Star Wars, many of the most beloved stories follow the hero’s journey pattern. Remix the Shadowbox Diorama to showcase the plot, themes, symbols, and characters of their favorite hero’s story.
- Create a favorite animal’s habitat using the Shadowbox Diorama design. Use the Glowforge app’s icon library or the Trace and Print tool design and print their own animal icons.
Meet Glowforge
The magical 3D laser printer that made this lesson possible. Learn more!
