Grade Level
K, 1, 2, 3, 4, 5, 6, 7, 8, 9, 10, 11, and 12
Difficulty
Easy
Duration
1 hour 30 minutes
Subjects
Citizenship
Craft
Family & Consumer Science
Fun
Home Economics
Summer Camp
-
Students communicate clearly and express themselves creatively for a variety of purposes using the platforms, tools, styles, formats and digital media appropriate to their goals.
-
Students use digital tools to broaden their perspectives and enrich their learning by collaborating with others and working effectively in teams locally and globally.
Vocab
Brainstorm
Collaboration
Community
Decision-making
Author
Glowforge
Licensing
Lesson for Download
Overview
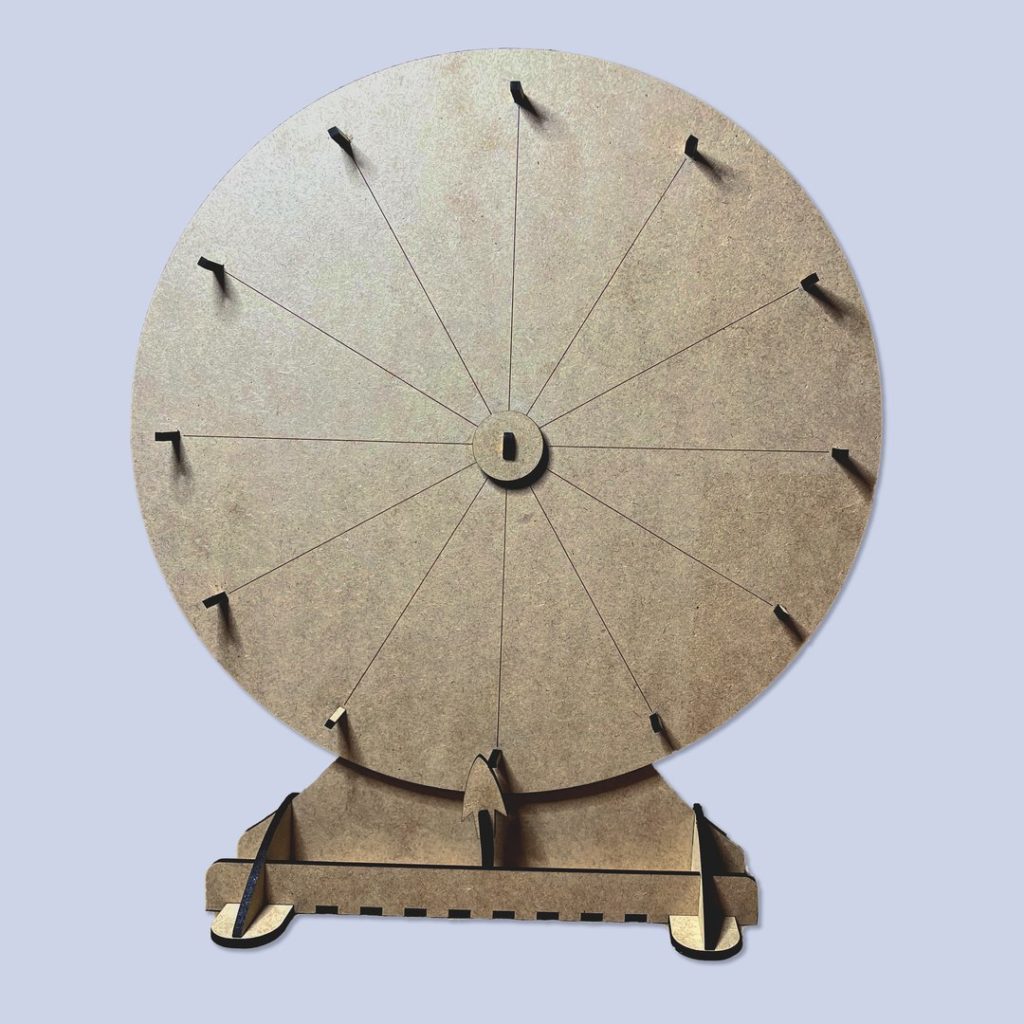
Empower your students to give back to their community! Print the spinning wheel decision maker and have students brainstorm ways they can make a difference. Fill in the spaces with ideas like a canned food drive, writing letters to local veterans, or donating children’s books to the local shelter. Spin the Giving Wheel, see where it lands, and create a plan to give back to the community!
Objective
Thematic Questions:
Standards:
ISTE Standards for Students
Supplies
- 1x Draftboard (Unfinished) Medium
- 1x Acrylic (wheel only)
- Cardboard
- Wax
- Mallet
- Materials for drawing on or customizing the giving wheel (i.e. markers, pens, paint, card stock, tape, index cards, construction paper)
Catalog Designs

Description
Lesson Outline:
Get Ready:
- Have students read through the activity details to familiarize themselves with the steps.
- Students should gather all of the materials needed to print, assemble, and customize the giving wheel.
Production Time:
Print – 12 minutes Assembly – 60 minutes
Lesson Instructions
Section 1 – Create:
Have students…
- Imagine how the Giving Wheel will help to make decisions. Consider whether to customize the wheel using available materials or by writing directly on it using dry or wet erase markers.
- Plan for printing the wheel by choosing which material option(s) to use. Consider discussing how the materials used for printing can impact the long-term versatility of the Giving Wheel.
- Create the Giving Wheel by following the steps of the Multi Purpose Spinning Wheel Decision Maker design project to print and assemble its parts.
- Test the wheel. Show how the assembled mechanics of the wheel work. Demonstrate how to spin the wheel and ask a few volunteers to try it out. Consider questions like, “How well does the wheel spin?” or “Does anything need to change to make the wheel work better?”
Section 2 – Use:
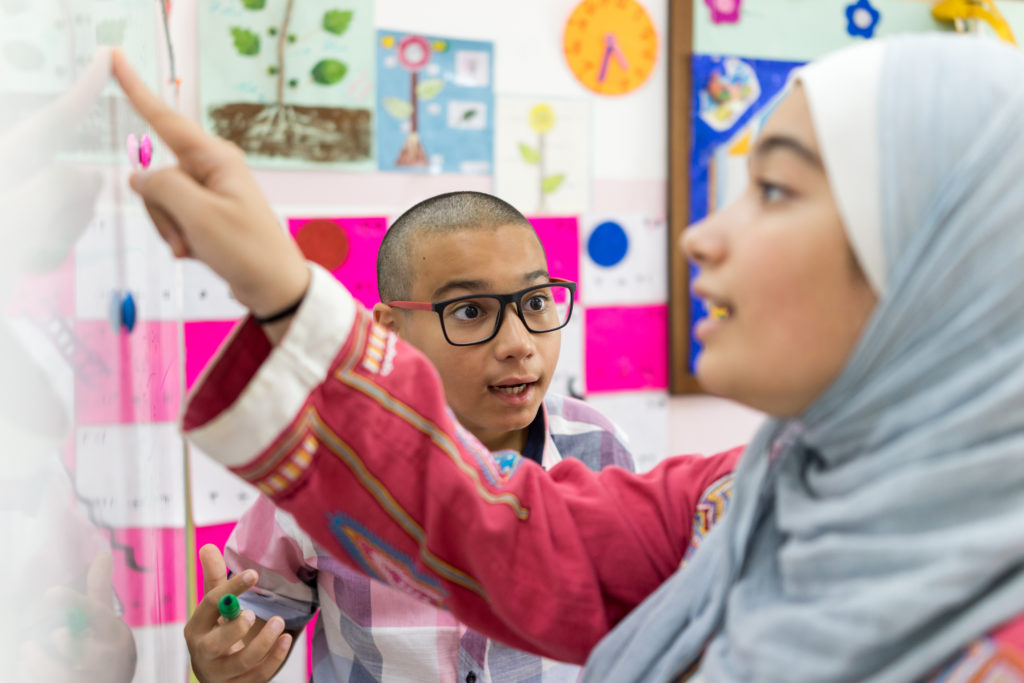
- Brainstorm ways to work together to help others in the community. Refer back to the Thematic Questions to get the discussion started! Consider using a simple brainstorming protocol like the one below.
- First, encourage students to think about how they can use their interests, talents, and resources to help others in the community. Brainstorming can be done individually or in groups. Write down as many ideas as possible without worrying about whether an idea is good or bad.
- Next,organize the ideas. Group them thematically, geographically, or any other way that makes sense.
- Last, have students decide which ideas to include on the Giving Wheel.
- Once the Giving Wheel is filled with ideas, spin it and see where it lands! Create a plan for giving back and helping out!
Reflection Questions:
Help students consider…
- How did collaboration help us decide what to put on our Giving Wheel?
- How could we use this Giving Wheel design to help make decisions?
- What other ways could a decision-making wheel be used?
Pro Tips:
- Experiment with materials! Printing the wheel in acrylic allows you to write on it with dry or wet erase markers so you can use it more than once. Printing in cardboard helps you reuse materials around the classroom. When choosing materials, make sure to use materials that are laser compatible. Also, remember that if the design uses joinery such as slots or finger joints, these may need to be adjusted to suit other materials.
- Consider other materials you can use to customize your Giving Wheel. Things like magnets, velcro, and tape can help you easily change the wheel sections to fit many uses.
- Consider customizing your wheel with graphics and text in the Glowforge app or printing students’ hand-drawn sketches using the Trace tool.
Reimagine:
- How might you use the decision-making wheel to create a game? Use the wheel as a fun addition to an open house or parent night. Raffle off chances to spin it to win fun prizes.
- Consider using this design to learn about parts of speech. By printing one wheel filled with verbs and another with nouns, students can spin the wheels to fill in their own MadLib activities. Consider using the acrylic white board material so that students can add their own words to the wheels.
Meet Glowforge
The magical 3D laser printer that made this lesson possible. Learn more!
