Grade Level
9, 10, 11, and 12
Difficulty
Easy
Duration
1 hour
Subjects
Art
Craft
Design & technology
Drama
-
Students communicate clearly and express themselves creatively for a variety of purposes using the platforms, tools, styles, formats and digital media appropriate to their goals.
-
Students recognize the rights, responsibilities and opportunities of living, learning and working in an interconnected digital world, and they act and model in ways that are safe, legal and ethical.
Vocab
Alter-Ego
Perception
Author
Sara Rosenstock (Glowforge Education Ambassador)
Licensing
![]()
Overview
In general, masks have two important social functions: (1) they provide a disguise for the wearer and (2) they allow the wearer to assume the identity, at least temporarily, of some other person or being.
For example, an individual in clown makeup is allowed to behave in ways that would otherwise be deemed inappropriate or offensive. This is certainly entertaining to the viewers, but it also highlights and presumably conveys something about the boundaries of what is appropriate in that particular society.
For this project, each student will design a mask that represents their alter-ego (a person’s secondary or alternative personality) or a mask that represents how they wish people perceived them. This mask can depict emotion, aspirations, as well as playfulness—the possibilities are not limited.
Contemporary Examples:
- “Artists Explore Self-Expression Through Bizarre and Whimsical Masks at Denver’s Vicki Myhren Gallery, Collassal, October 2020: https://www.thisiscolossal.com/2020/10/masks-denver/
- Bread and Pupper Theater: https://breadandpuppet.org/museum
- Wayne White: https://www.waynewhiteart.com/puppets/
- Jim Davis-False Face: http://falseface.org
Additional Inspiration:
- Masks from Purilia India
function in Chhau dances in NW India (Note the variety of expressions) - Design & Healing, Masks and PPE
- Ai WeiWei Mask through Refugees International
- Masks of Italian Puppet Theater (Museo Giorfano Ferrari)
Objective
Social Media also provides an alternative perspective (perception) of an individual—each user of Social Media has the ability to curate/create who/what they want to present to their audience—essentially creating an alternative identity. Students will…Thematic Questions:
Personal Reflection:
Outcomes:
Standards:
ISTE Standards
Supplies
- Cardboard, Wood or Acrylic (approximately 9” x 12” for each layer)
- Optional: Mylar or Acetate
- Optional: Patterned or Colored Paper
- Glue or double-sided tape
- Paint or markers
Design Files
Description
Lesson Outline:
Lesson Instructions
Step 1: Mind Map
- Create a Mind Map: Students should create a mind map (which enables non-linear thinking*) of two categories:
-
- What characteristics they want others to know (perceive) about them)
- The visual elements that are associated with those characteristics. For example, if you want others to think you’re smart, you can use glasses, a large brain as a visual representation of that characteristic. They can be as literal or as abstract in their interpretation as they want.
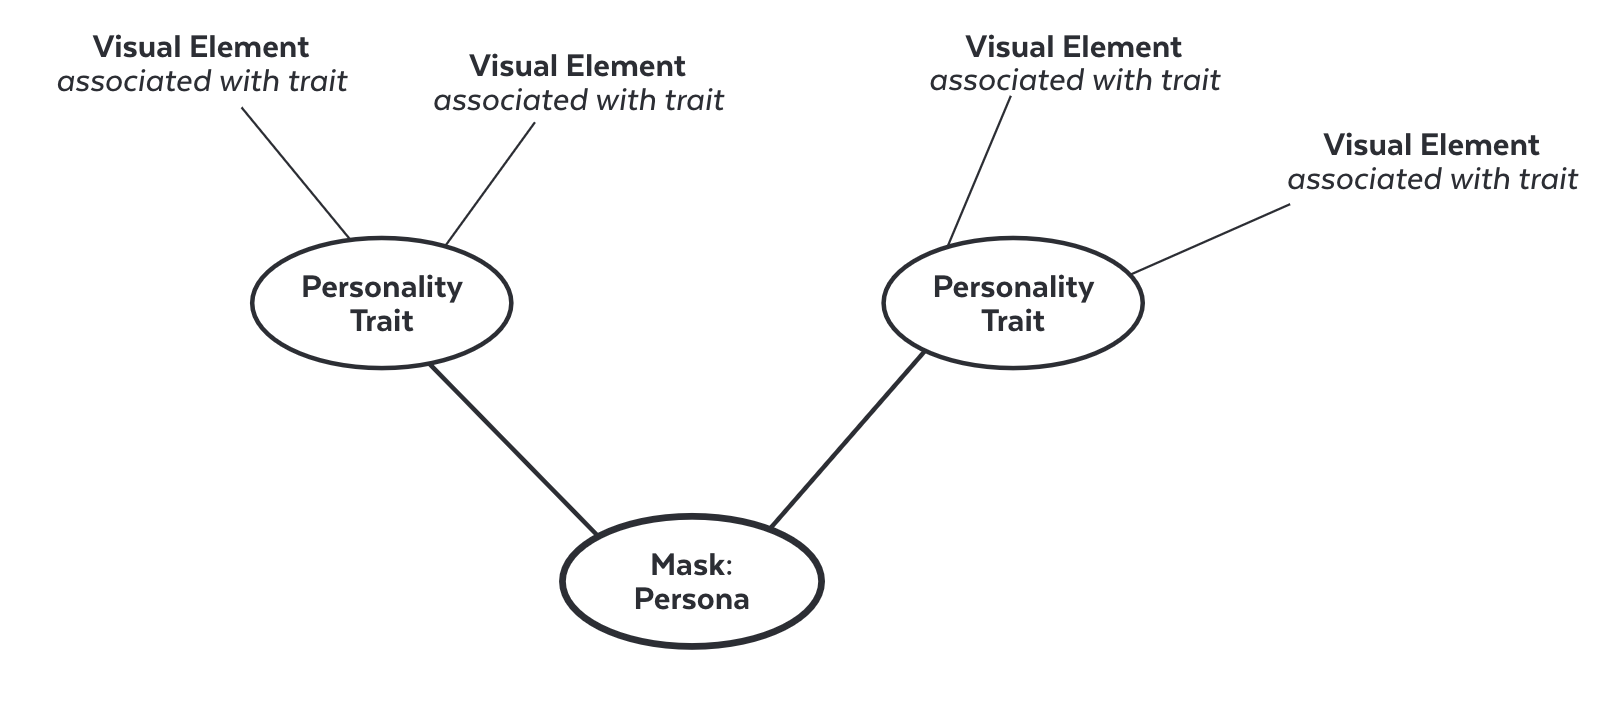
*Nonlinear thinking doesn’t work in straight lines or in a sequential (linear) manner. Instead, it makes connections and draw conclusions from unrelated concepts or ideas. Mind Maps are visual organizers that exhibit the connections between ideas.
Step 2: Plan
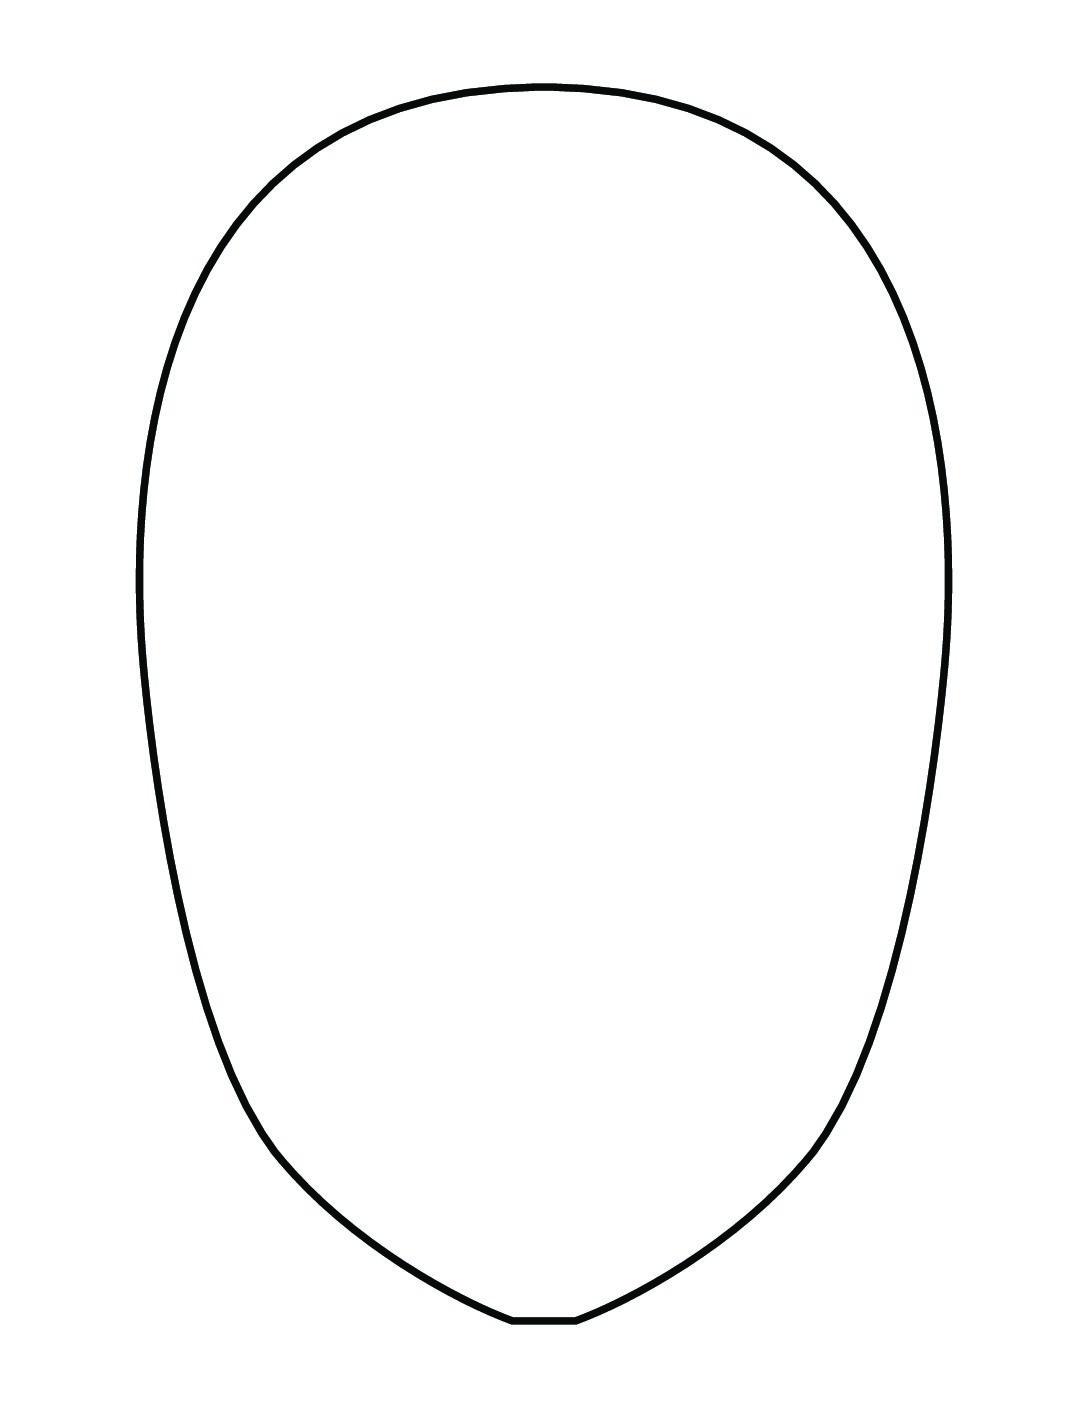
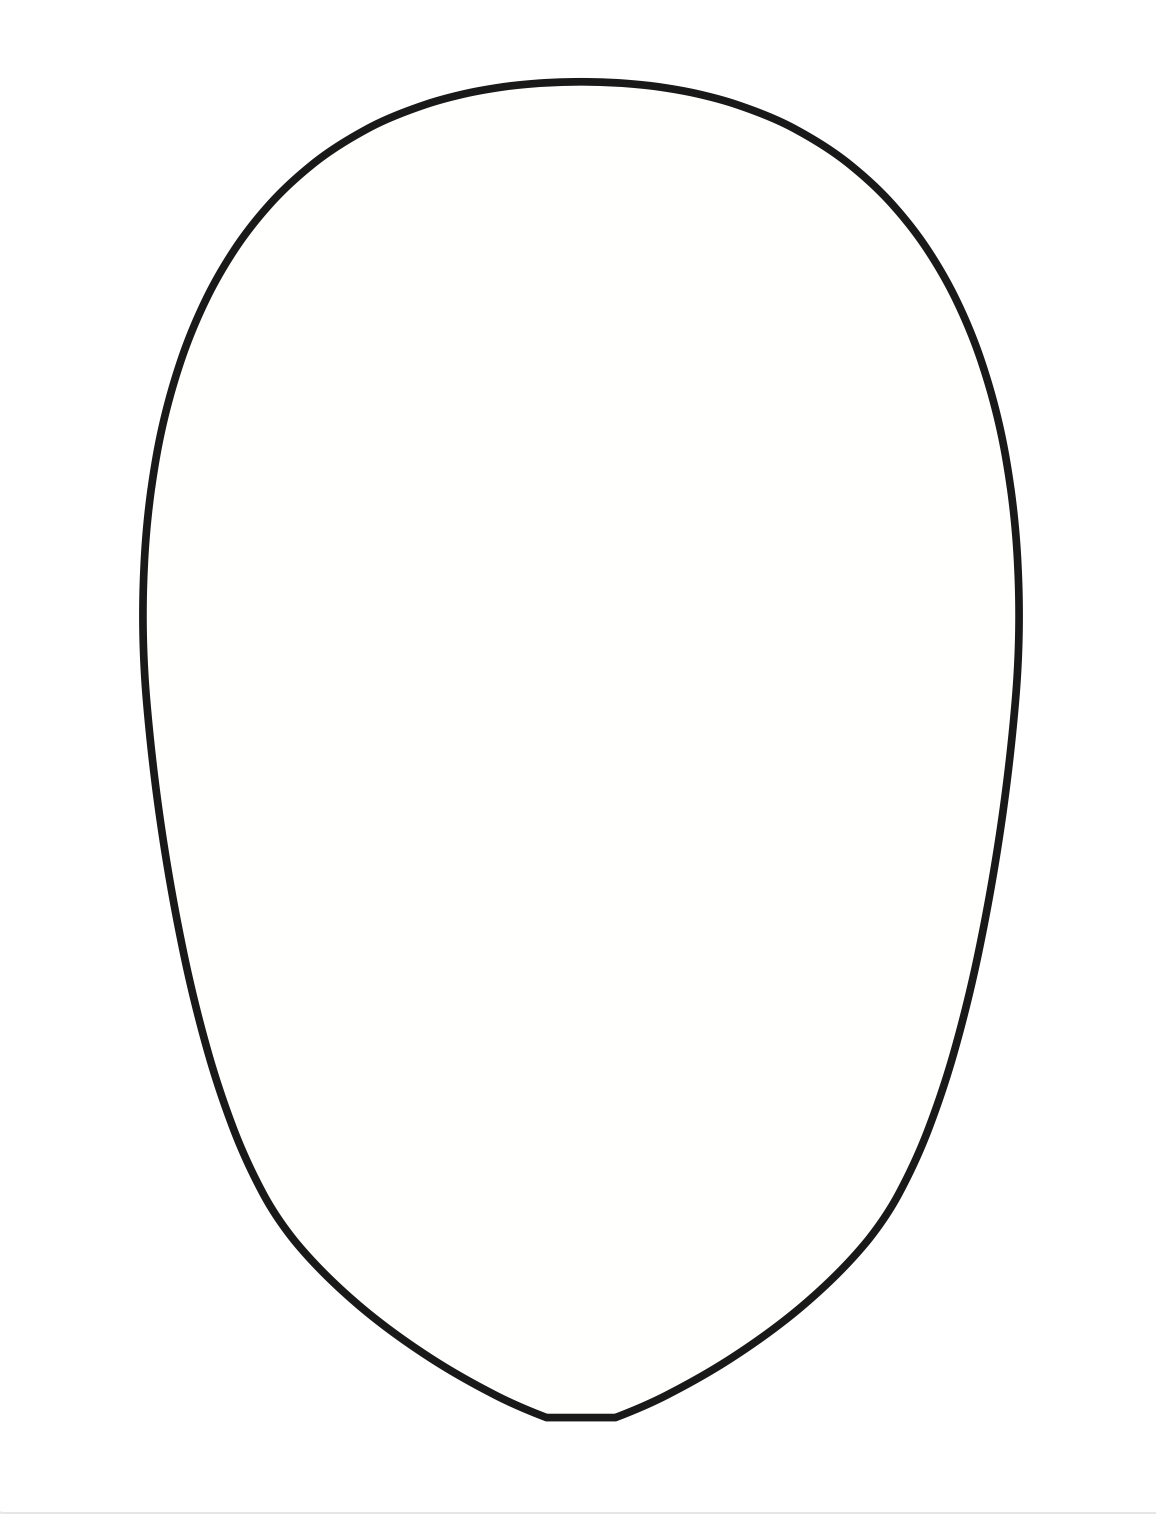
- Sketch out ideas on paper—Use Mask Template (provided) to help with the face shape.
- Cut paper with scissors to see how layers interact.
- Finalize outlines of each layer using paper and a pencil.
- Trace outlines with a felt-tip black marker.
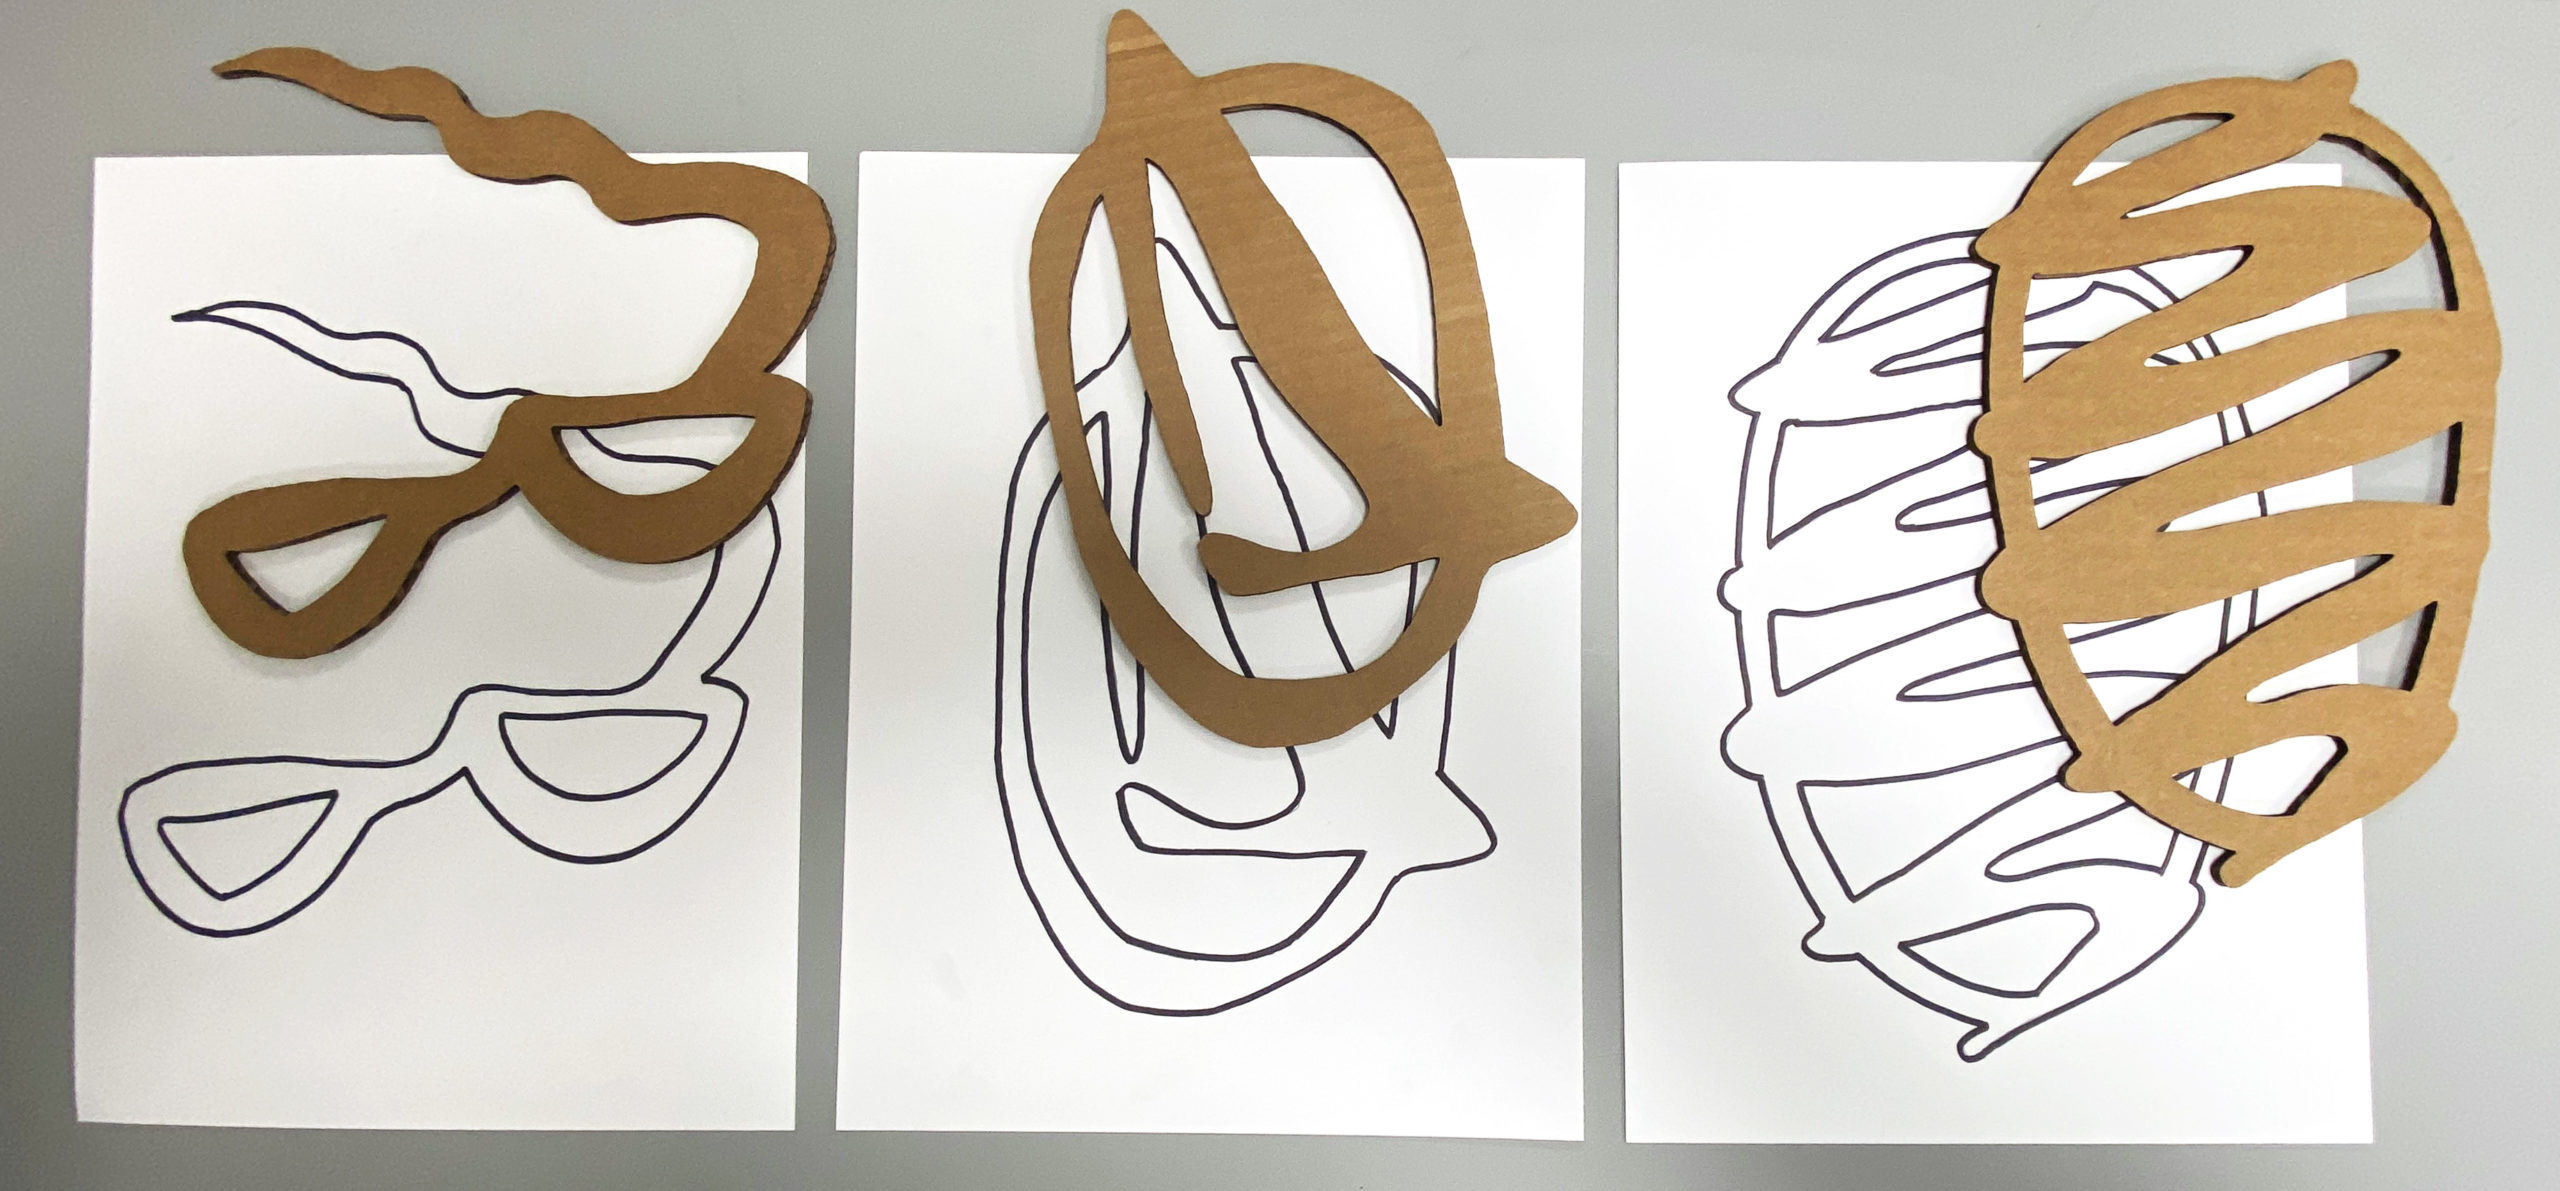
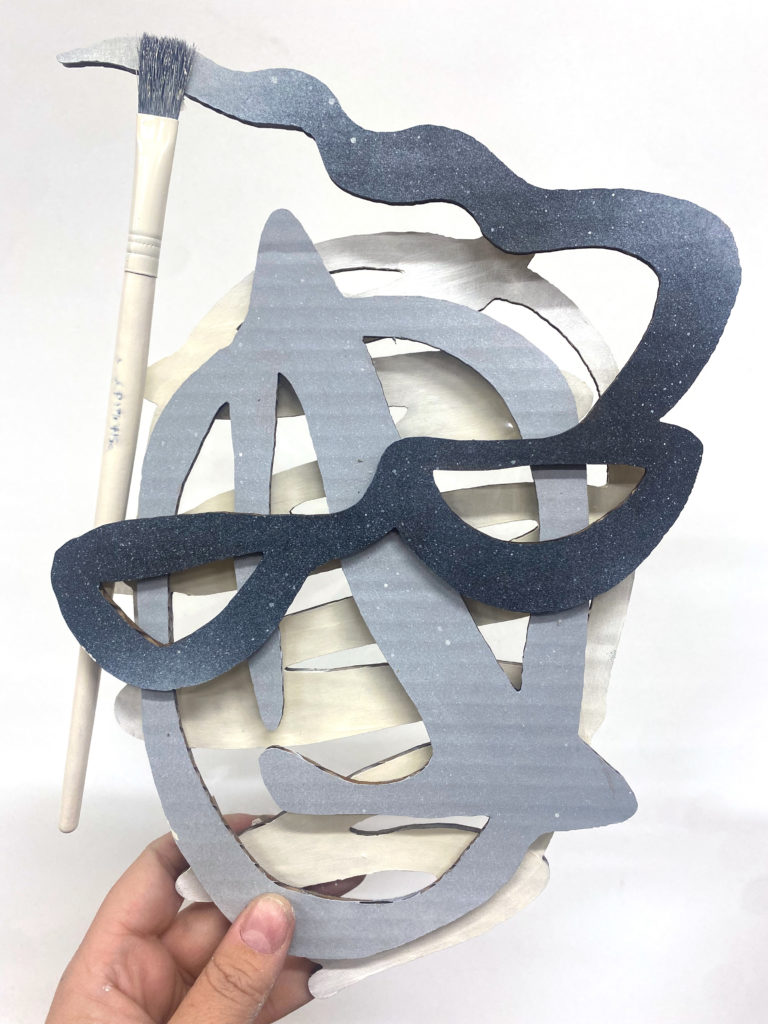
3: Sketches and Cardboard Layers
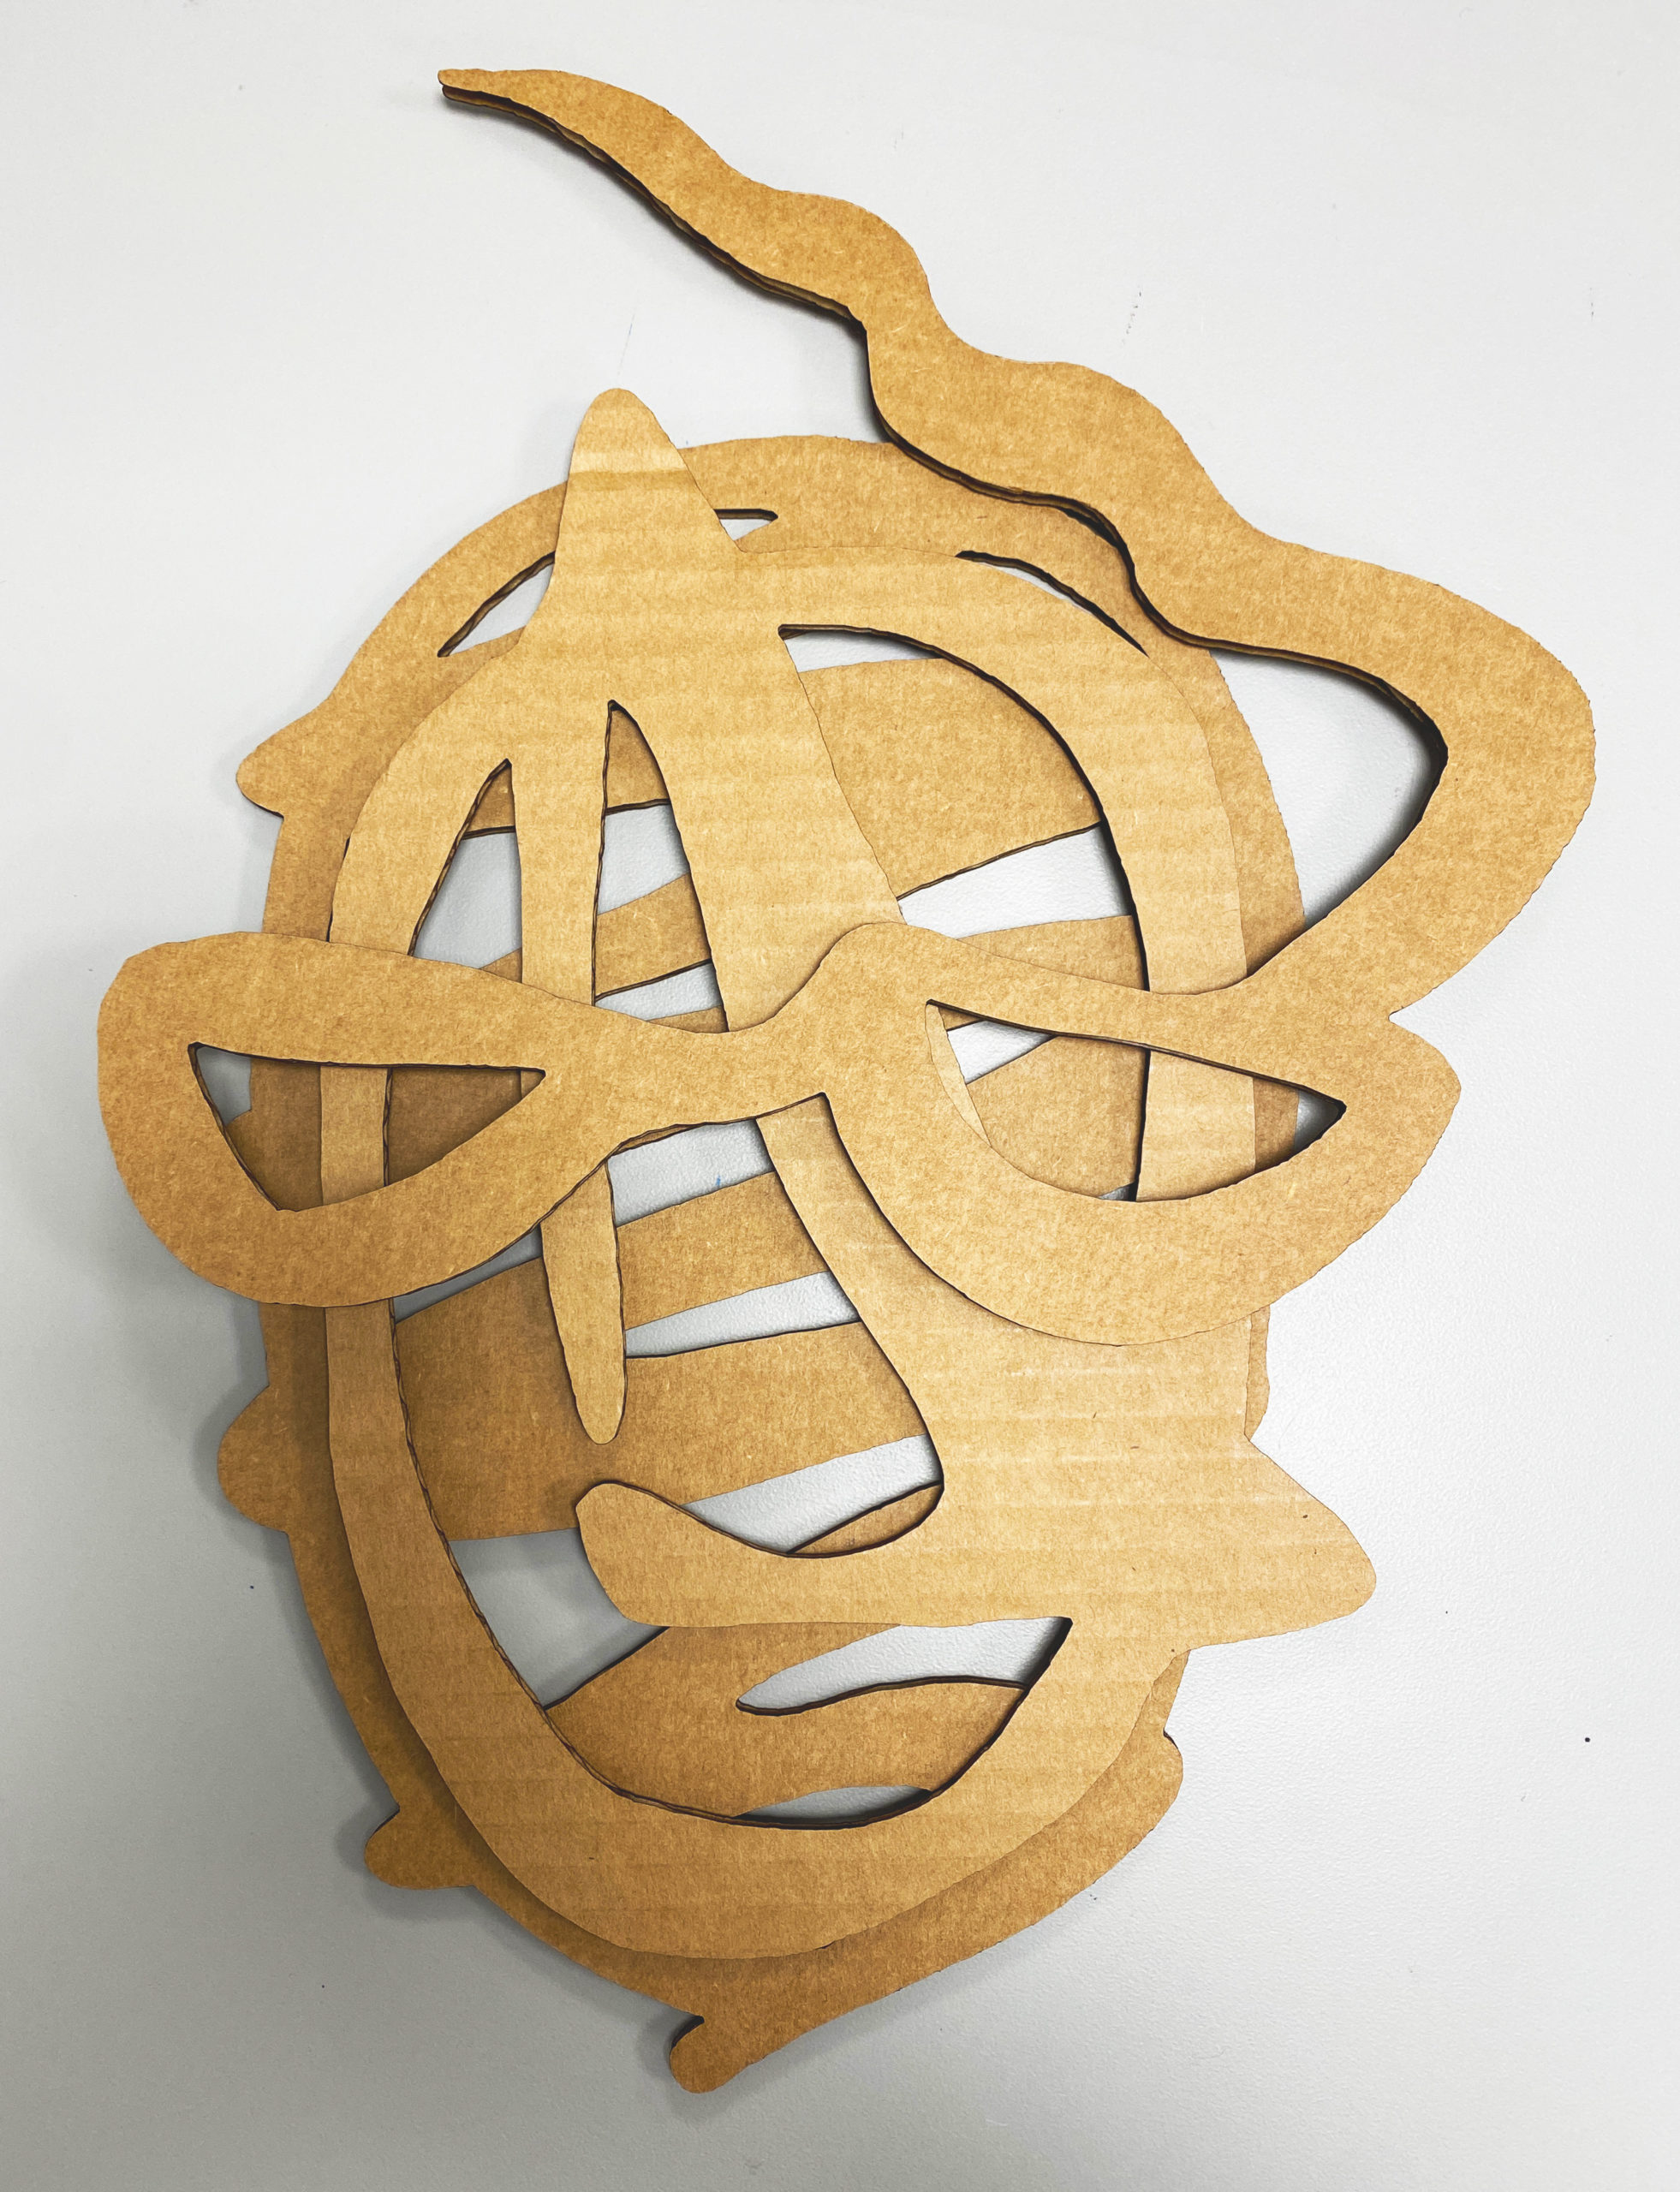
Step 3: Laser cut
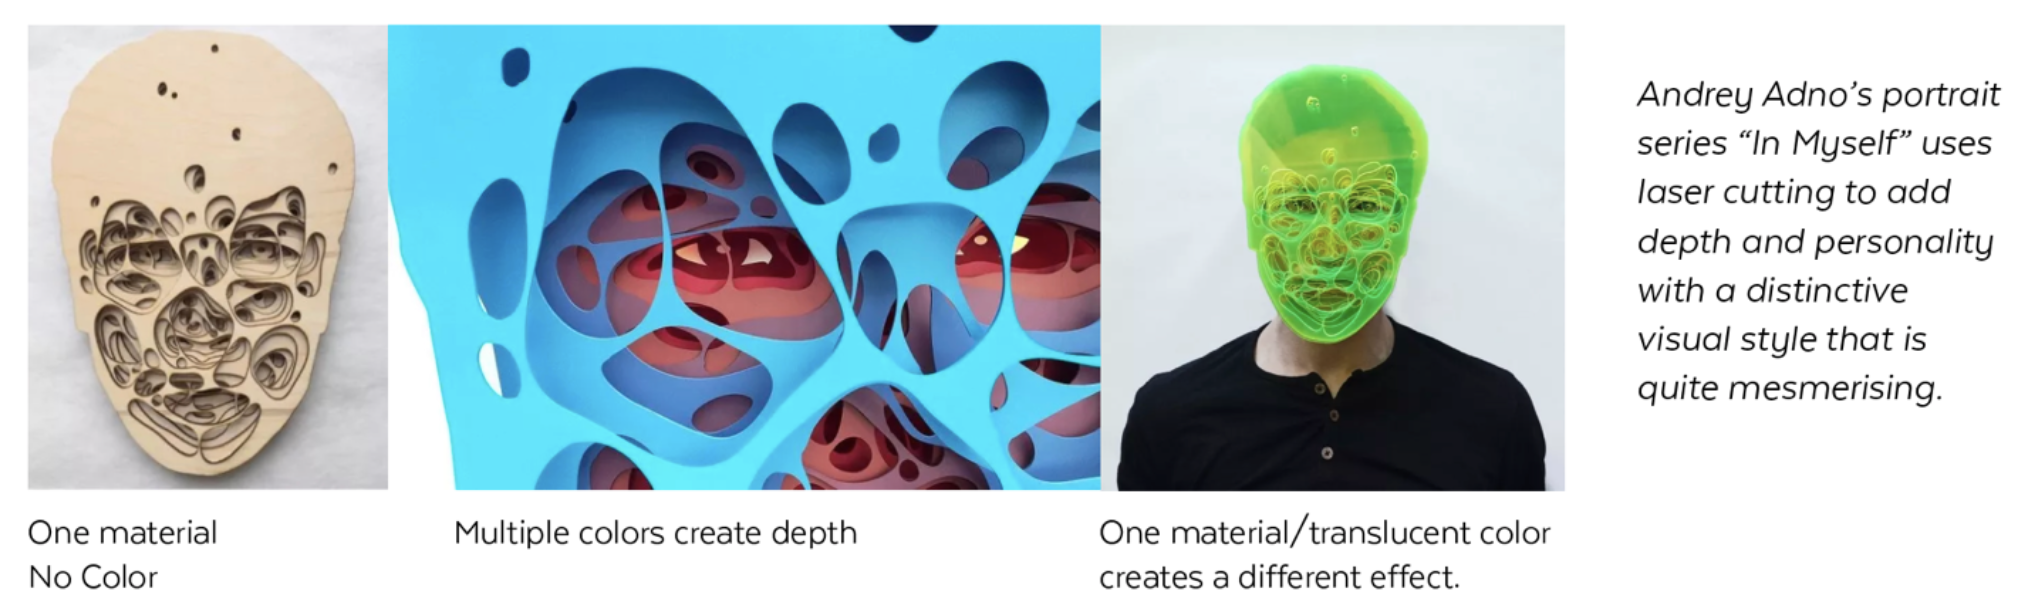
- Using the Glowforge Trace feature, capture the outlines of each drawing (each layer) and cut it into your material of choice (cardboard, wood, acrylic, mylar, etc.)
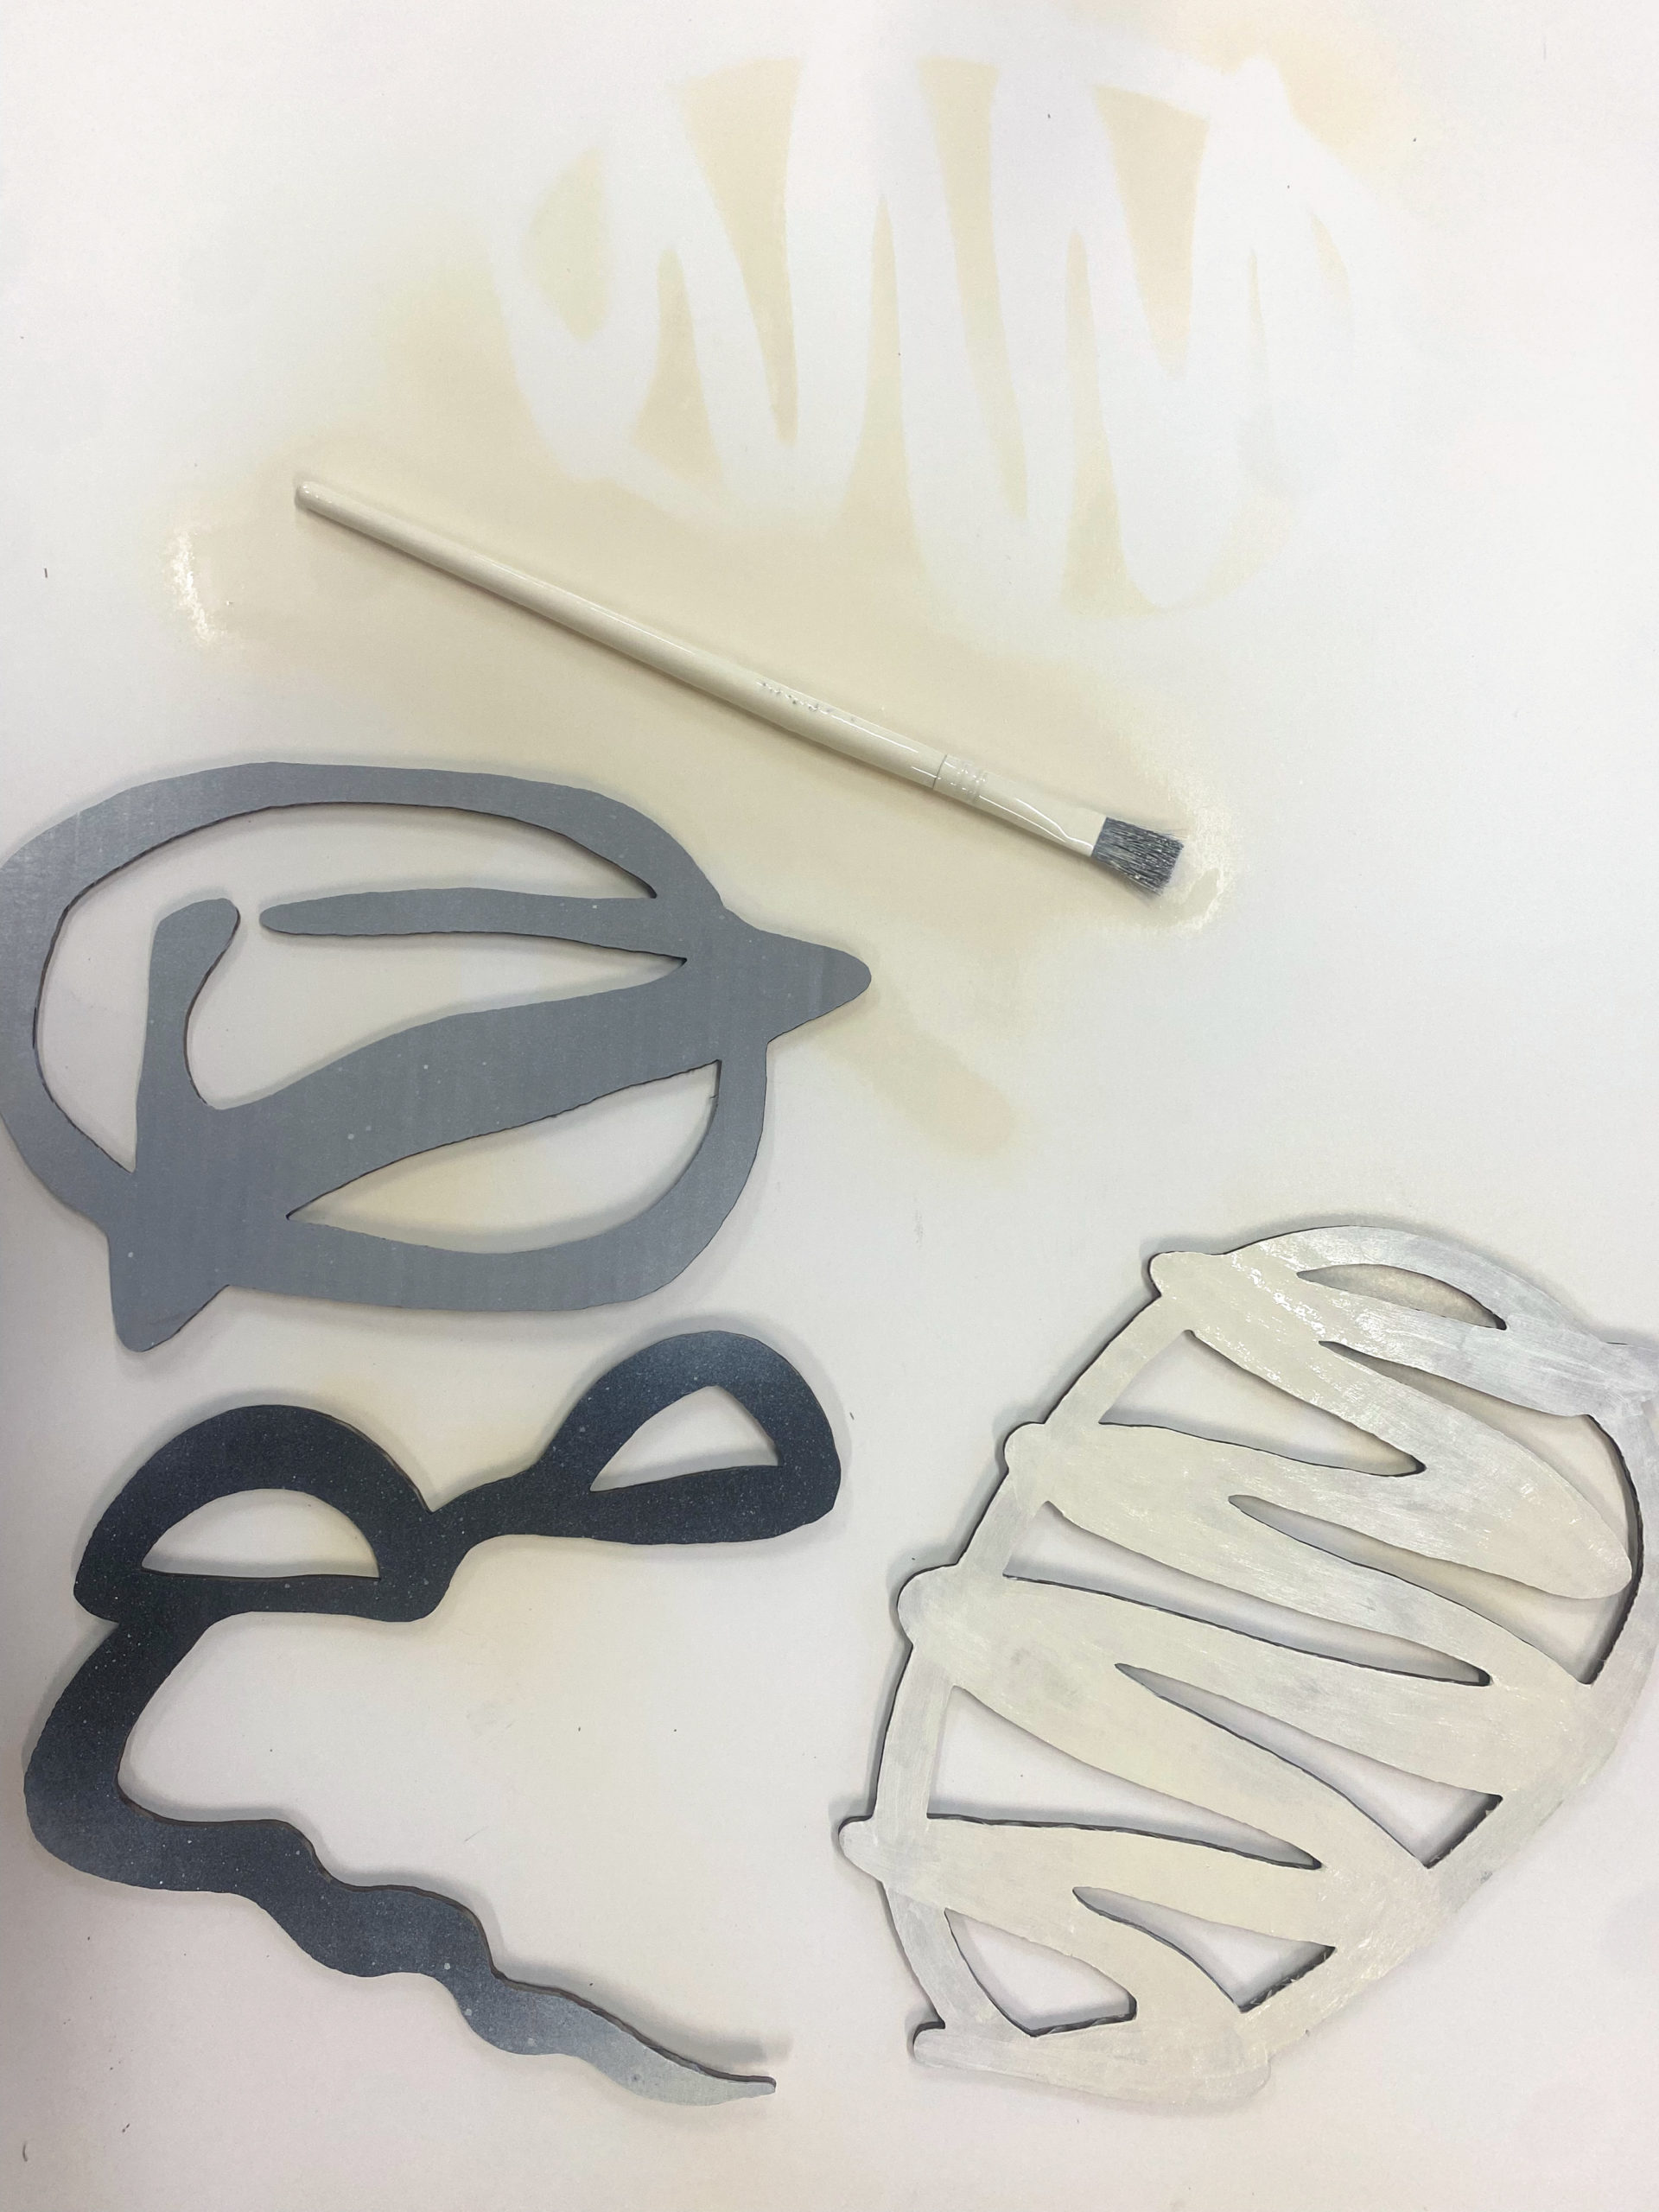
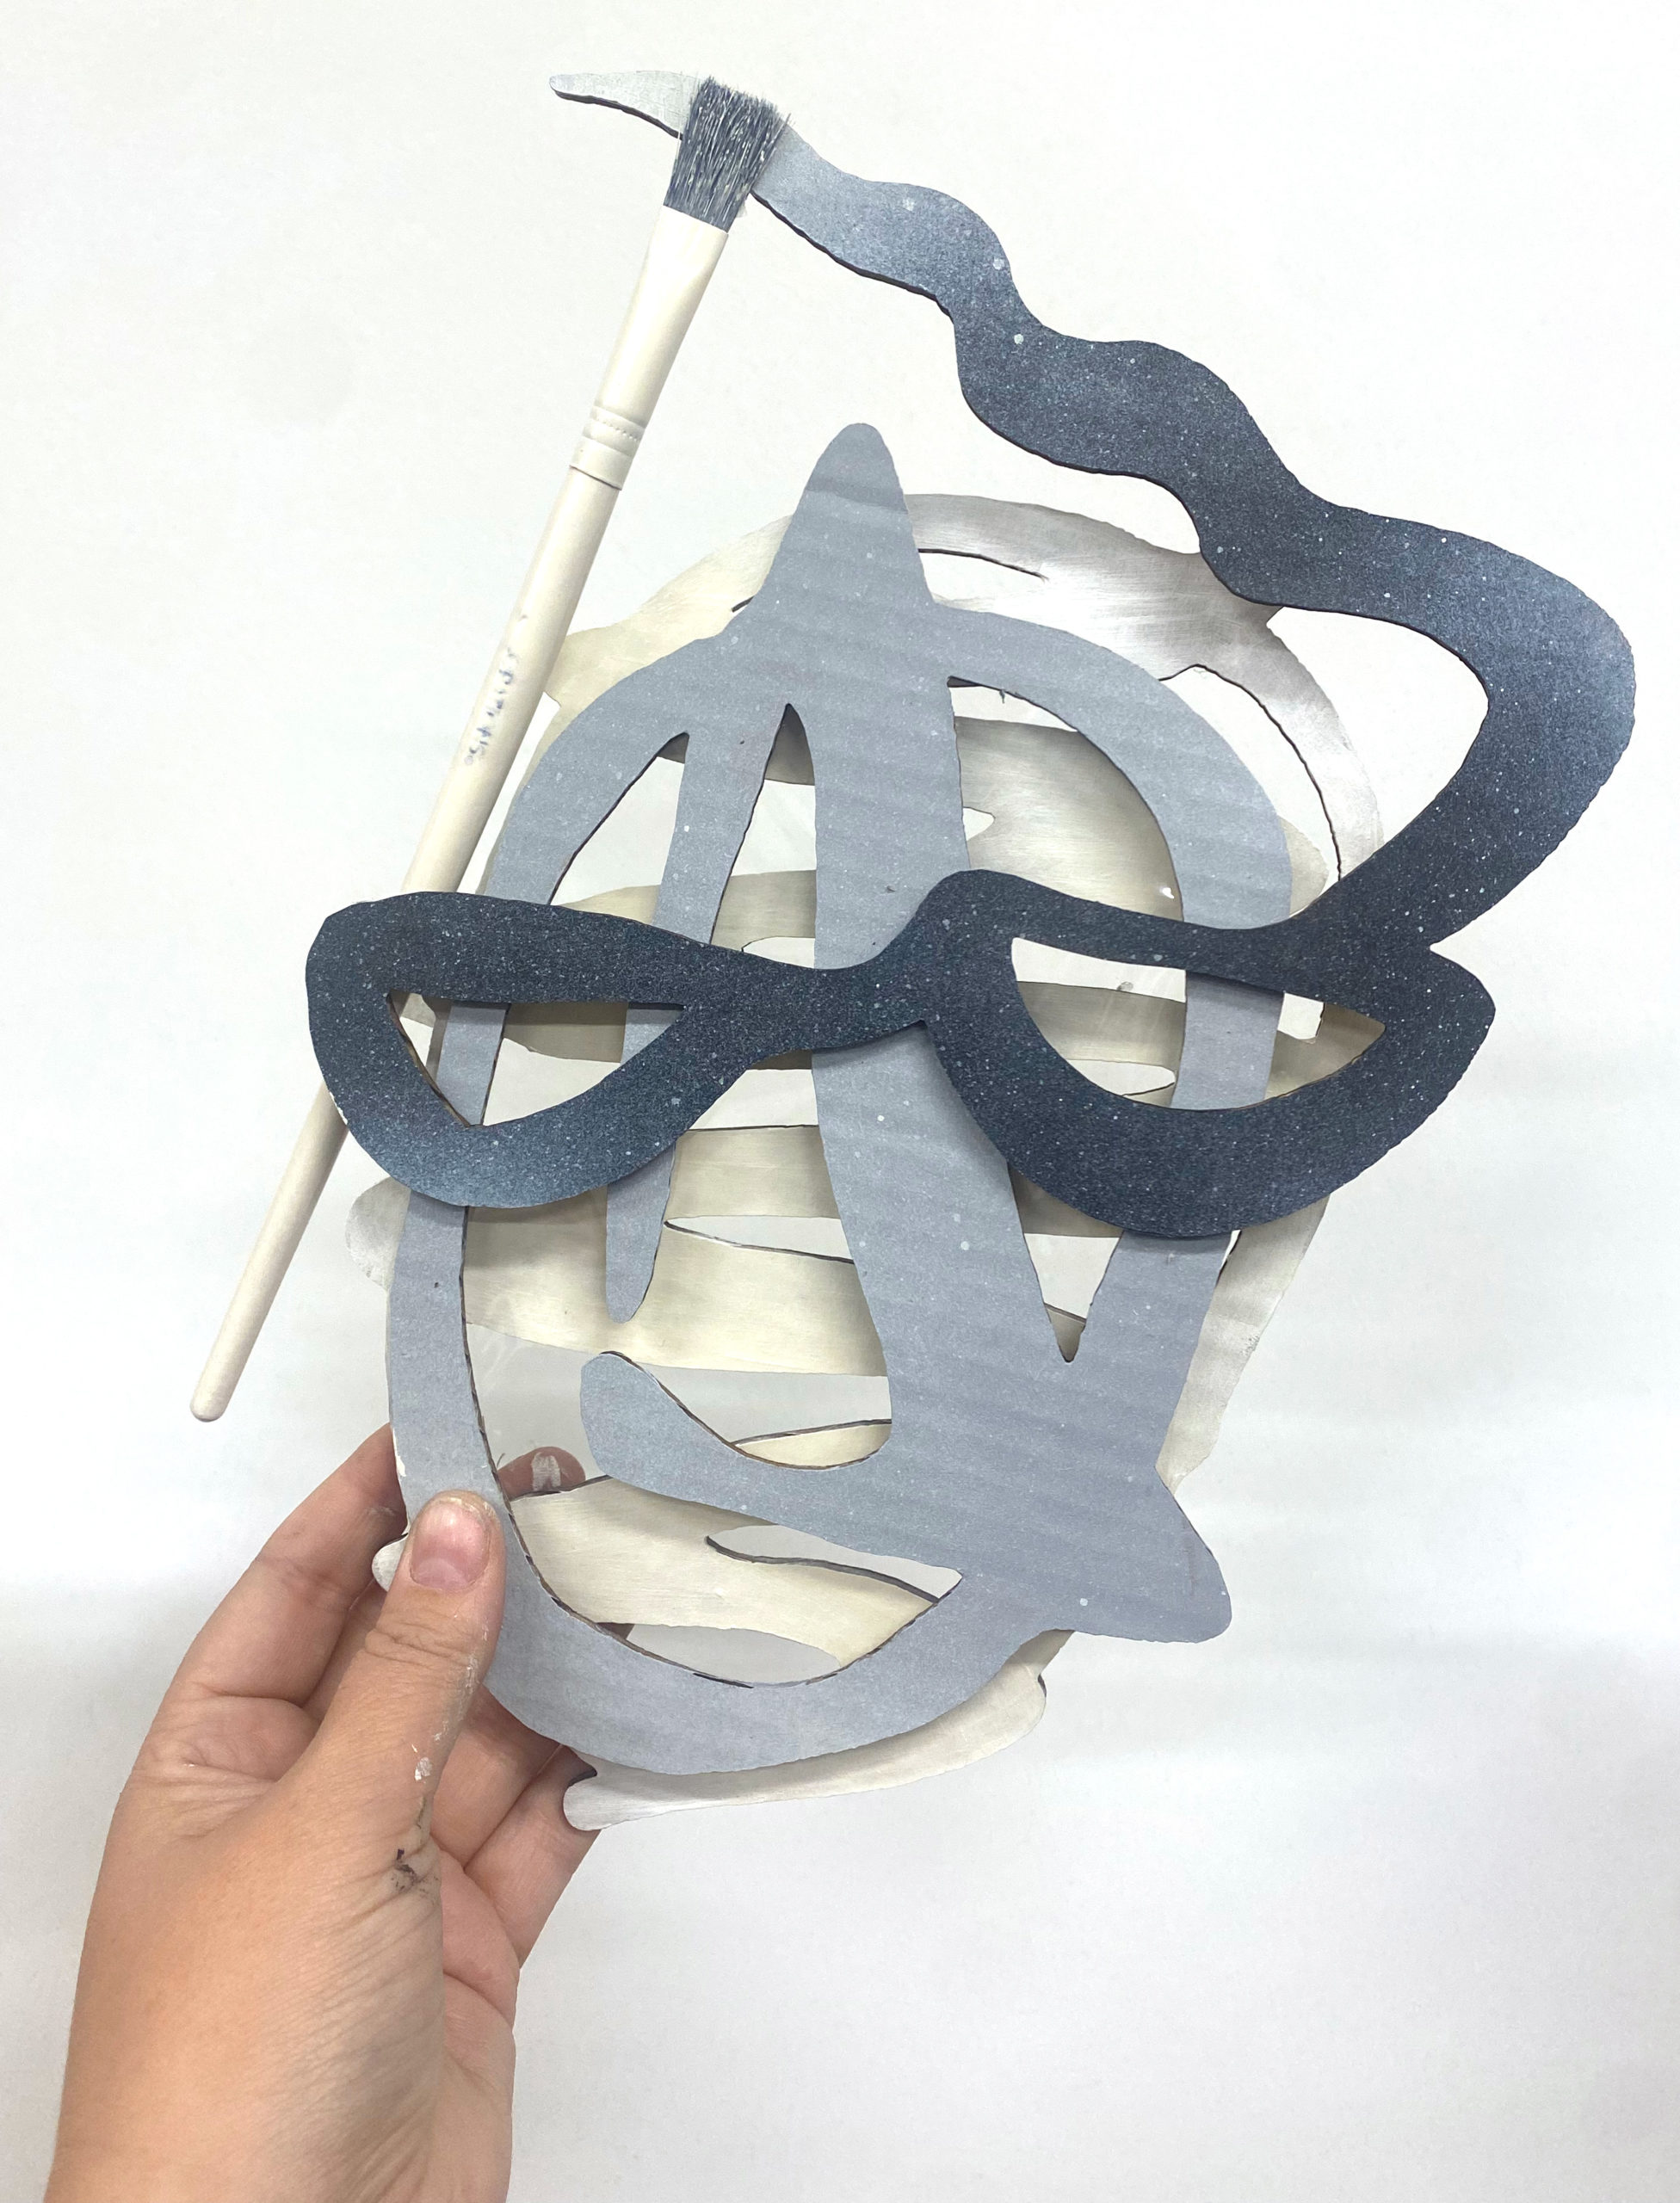
Step 4: Paint
- Paint layers and add additional details (as desired).
- Assemble masks by gluing (or taping) layers together.
Step 5: Write
- Student should describe what visual elements they used in their mask and what personality characteristics they represent.
- Student should discuss how they decided what colors, patterns, etc. they added to the mask layers (after they were cut) and why they believe it enhanced the visual communication.
- Student should reflect on how effective they believe their final masks are at communicating the persona (and personality traits) that they were intending.
Meet Glowforge
The magical 3D laser printer that made this lesson possible. Learn more!
