Grade Level
K, 1, 2, 3, 4, and 5
Difficulty
Easy
Duration
1 hour
Subjects
Art
Drama
English
Fun
Reading
-
Students communicate clearly and express themselves creatively for a variety of purposes using the platforms, tools, styles, formats and digital media appropriate to their goals.
Vocab
Traits
Characteristics
Imagination
Storytelling
Creativity
Author
Glowforge
Licensing

Lesson Handout
Overview
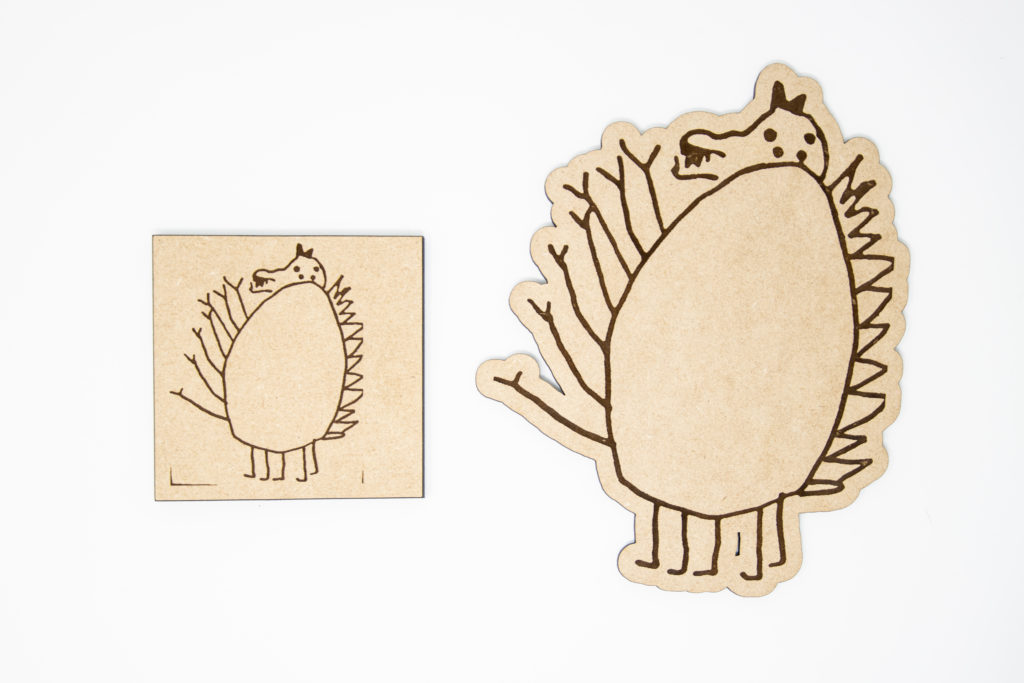
Ahhh! Real Not-So-Scary Monsters are everywhere! In this activity, students roll dice to practice addition and create one-of-a-kind monsters and imagine what cool jobs they might do! Then, they use the Glowforge app’s Trace and Print tool to import, customize, and print their unique, Not-So-Scary creature.
Objective
Students will…Thematic Questions:
Outcomes:
Standards:
ISTE Standards for Students
Supplies
For each Not-So-Scary Monster you will need:
- 1 x Draftboard Medium or cardboard
- Paper, pencils and markers
- Glue, pipe cleaners, string, or split pins
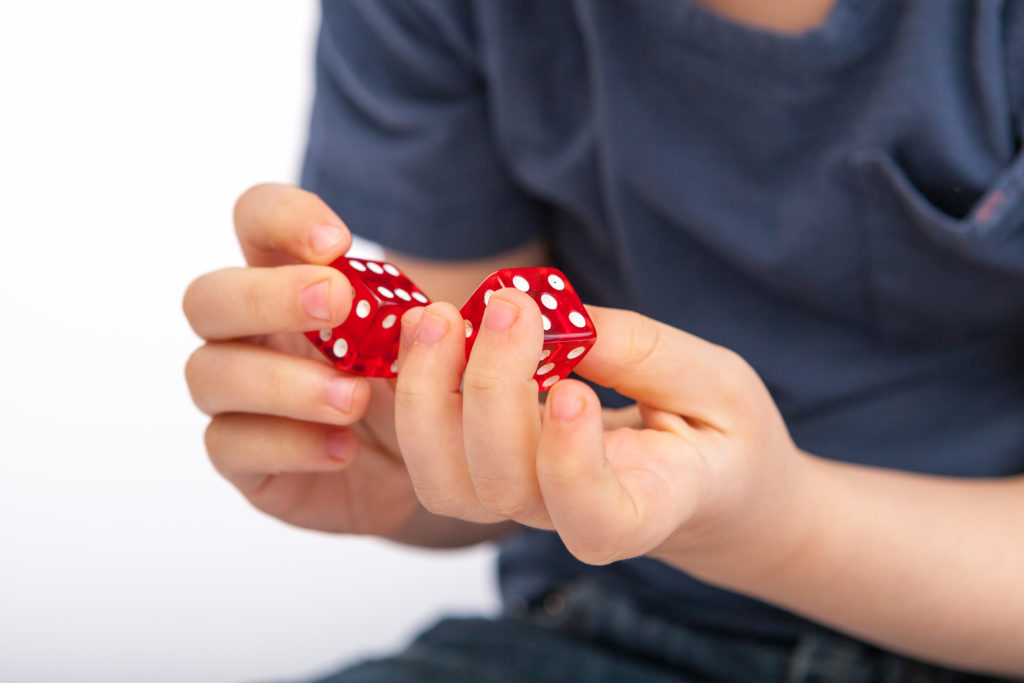
- Dice (2 for each student) – consider using Weighted 6-Sided Gaming Dice design
- Book: I Need My Monster by Amanda Noll, The Mischievians by William Joyce, or a similar book like one from “12 Funny Children’s Books Starring Silly, Lovable Monsters”
- Materials for customizing Not-So-Scary Monsters (e.g., markers, stickers, pens, or paint)
Catalog Designs
For this activity, you will use the Trace and Print Tool to turn your idea into a design.
Description
Lesson Outline:
Get Ready:
- Read through the activity details to familiarize yourself with the steps to complete the activity.
- Gather all of the materials needed to print, assemble, and customize the Not-So-Scary Monsters.
- For this activity, you will use the Trace and Print Tool to turn your idea into a design.
- Consider having a pre-printed example of the design to show students.
Production Time:
Print – will vary based on the design
Lesson Instructions
Section 1 – Plan:
- As a class, read I Need My Monster by Amanda Noll. Discuss how the main character views the silly monsters and their physical and personality traits.
- What conflict does Ethan, the main character, face in this story?
- Who is Gabe and why is he special to Ethan?
- What are some of the silly reasons that Ethan dismisses the other monsters?
- What are some other stories, movies, or TV shows that I Need My Monster reminds you of?
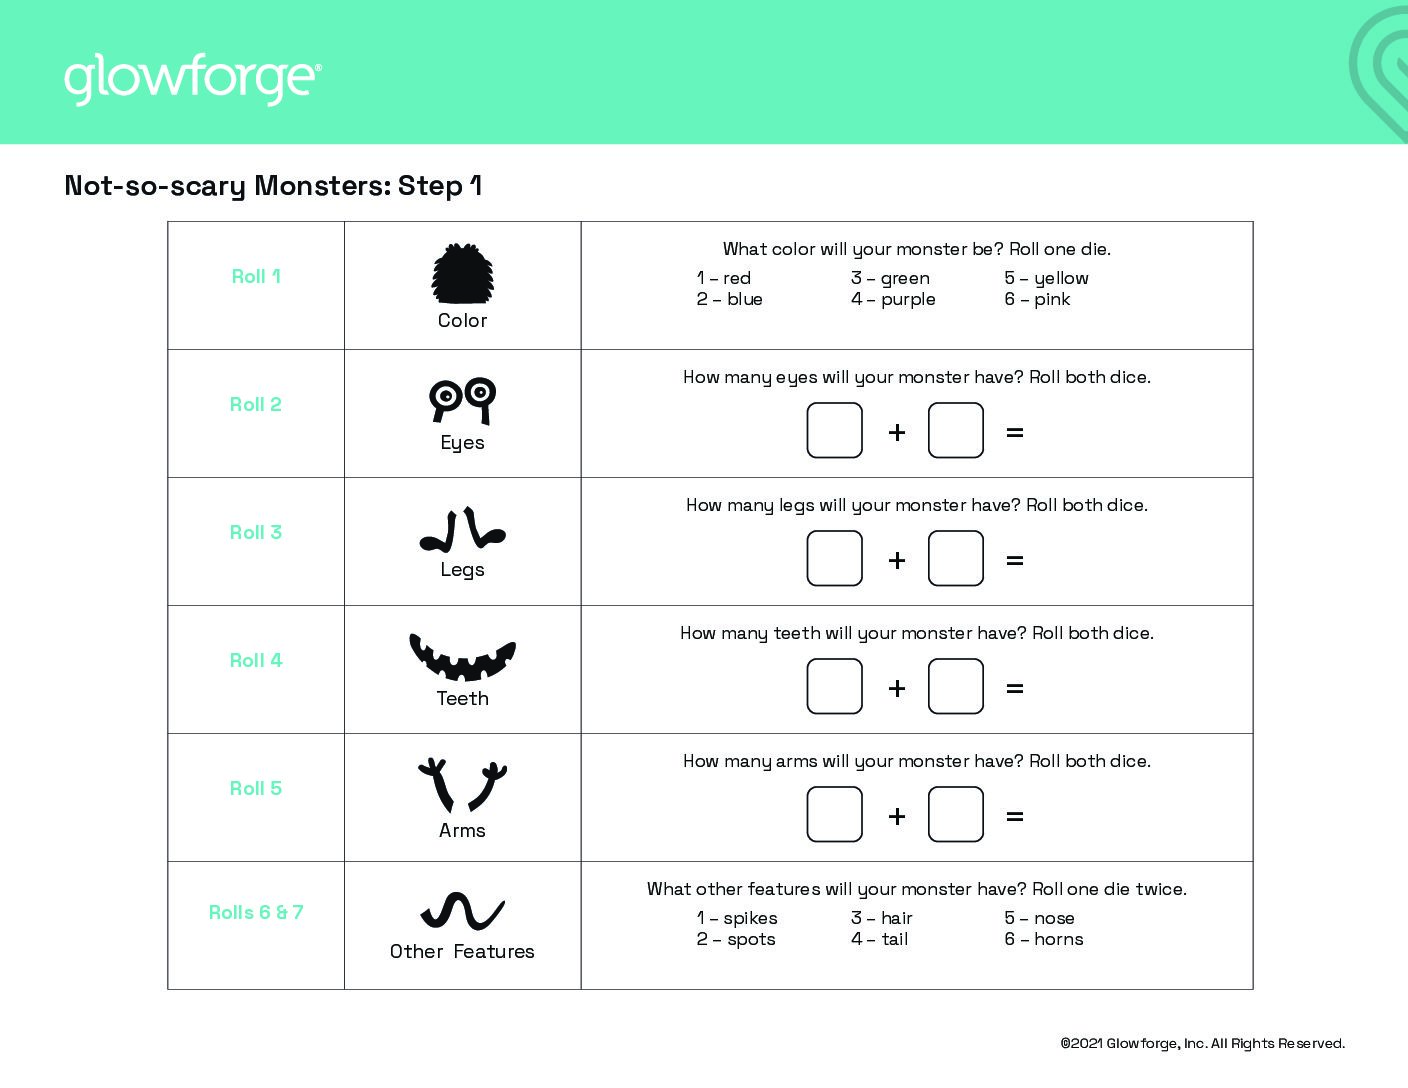
- Give each student a copy of the Not-So-Scary Monsters handout. Introduce the handout to students by reading through the directions together. Consider projecting a copy of the handout on a screen or whiteboard to point to specific places where students will fill in information.
- Tell students you will practice creating a Not-So-Scary monster together, as a class, before they create their own.
- Ask for a student volunteer. Have the student roll the dice and announce the number they rolled. Ask: “Based on roll 1, what color should the monster be?” Students should match the number rolled with the color from the roll 1 section of the handout. Circle the color of the monster on the projected version of the handout for students to see.
- Repeat this with a different student volunteer for each of the other rolls on the handout. For rolls 2-5 specifically, encourage students to complete the simple addition equations to come up with the appropriate numbers.
- After the class has finished rolling and determining the Not-So-Scary Monster’s characteristics, draw a quick version of the monster for students to see. Consider asking students to remind you about the monster’s attributes as you draw. Have students help come up with a unique name for the creature.
Section 2 – Customize and Create:
- Give each student a pair of dice.
- For Step 1 of the handout, have students work through each roll on the handout, circling the results for rolls 1, 6, and 7; and completing the equations for rolls 2-5. If students get stuck, encourage them to work collaboratively to assist each other.
- For Step 2 of the handout, have students sketch their Not-So-Scary Monsters in the space on page 2 of the handout. Remind students that they should do a rough sketch using pencil before going over the pencil with black marker. They will add color to their printed monster.
- Assist students in using the Glowforge app’s Trace and Print Tool to scan their drawings and adjust the cut and engrave settings.
- Consider if any design elements need an outline around them to signify cuts. If an outline is needed, use the Glowforge app’s Outline Tool to create a new outline. Adjust the size of the outline between the recommended 1/8th to 1/4 inch (3-6mm).
- Consider using the “Create a Gift Tag” guide to add a hole for ribbon or string. Students can easily attach their monsters to their bag, or display them together in the classroom

Section 3 – Use:
Ask students to…
- Print their Not-So-Scary Monsters.
- Look at page 3 of the Not-So-Scary Monsters handout. Pretend that their Not-So-Scary Monster is applying for a job. Provide students with two example job options:
- Your monster is applying to be Ethan’s monster from I Need My Monster. Consider how your monster’s unique personality and traits would be a perfect fit for Ethan.
- Create a new job based on your monster’s unique traits, characteristics, and personality. For example, a monster with a long tongue may apply to test ice cream or one with claws may become a professional back scratcher.
- Write their ideas in the space provided on page 3 of their handout. As students work, remind them to be prepared to share:
- Why does your monster want this job?
- What are your monster’s qualifications for this job?
- Display their Not-So-Scary Monsters and their job applications publicly in the classroom, library, or elsewhere around the school.
Reflection Questions:
Help students consider…
- How did rolling dice help me draw my Not-So-Scary Monster?
- How was I able to add personality to my Not-So-Scary Monster in my design and job application?
Pro Tips:
- Refer to Trace and Print Tool to learn more about the Glowforge app’s Trace and Print tool. Emphasize that students’ Not-So-Scary Monster sketch should be done in pencil and then black marker. Color will be added through art supplies on the finished print.
- It’s very easy to change the size of our monsters in the Glowforge Print App. To make drawing easier for younger students, consider having them draw their monsters on US Letter paper, and then shrinking the monster design after tracing it in the Glowforge App.
Reimagine:
- How might we depict the changes of animals over time? Use the Glowforge app’s Trace and Print Tool to represent an animal at different phases of its development. Draw the dramatic changes that frogs, butterflies, fish, or your favorite animal have throughout their lifetime.
- How might we add movement to our Not-So-Scary Monsters? Use the Glowforge app and the Trace and Print tool to design and print arms, legs, or other features that students can connect to their base print. Use string, round-head fasteners, or pipe cleaners to attach and assemble the figures. It’s easy to add holes to our monsters for arms and legs by placing them back into the Glowforge, and using the circle tool to create cut lines in the appropriate places
- How might we playfully send messages with our Not-So-Scary Monsters? Send your friends fun messages by creating Monster-grams. Use the Glowforge app and the Trace and Print tool to add text, symbols, and emoji to your Not-So-Scary Monster messenger.
Remix:
Have students…
- Incorporate their Not-So-Scary Monster into a Shadow Puppet Theater play or Community Shadowbox Diorama as a character or to represent a fear or challenge that a character may face.
- Write a short Not-So-Scary story starring your Not-So-Scary Monster. Craft and share a giggle-ful tale about your monster that you can share in class or in the library.
Meet Glowforge
The magical 3D laser printer that made this lesson possible. Learn more!


