Grade Level
3, 4, 5, 6, 7, and 8
Difficulty
Easy
Duration
1 hour
Subjects
Art
Computer Programming
Craft
Fun
STEAM
Summer Camp
Vocab
LED – Light Emitting Diode
Micro:bit
Programming
Coding
Python
C++
Author
Glowforge
Licensing
Lesson for Download
Lesson Handout
![]()
Overview
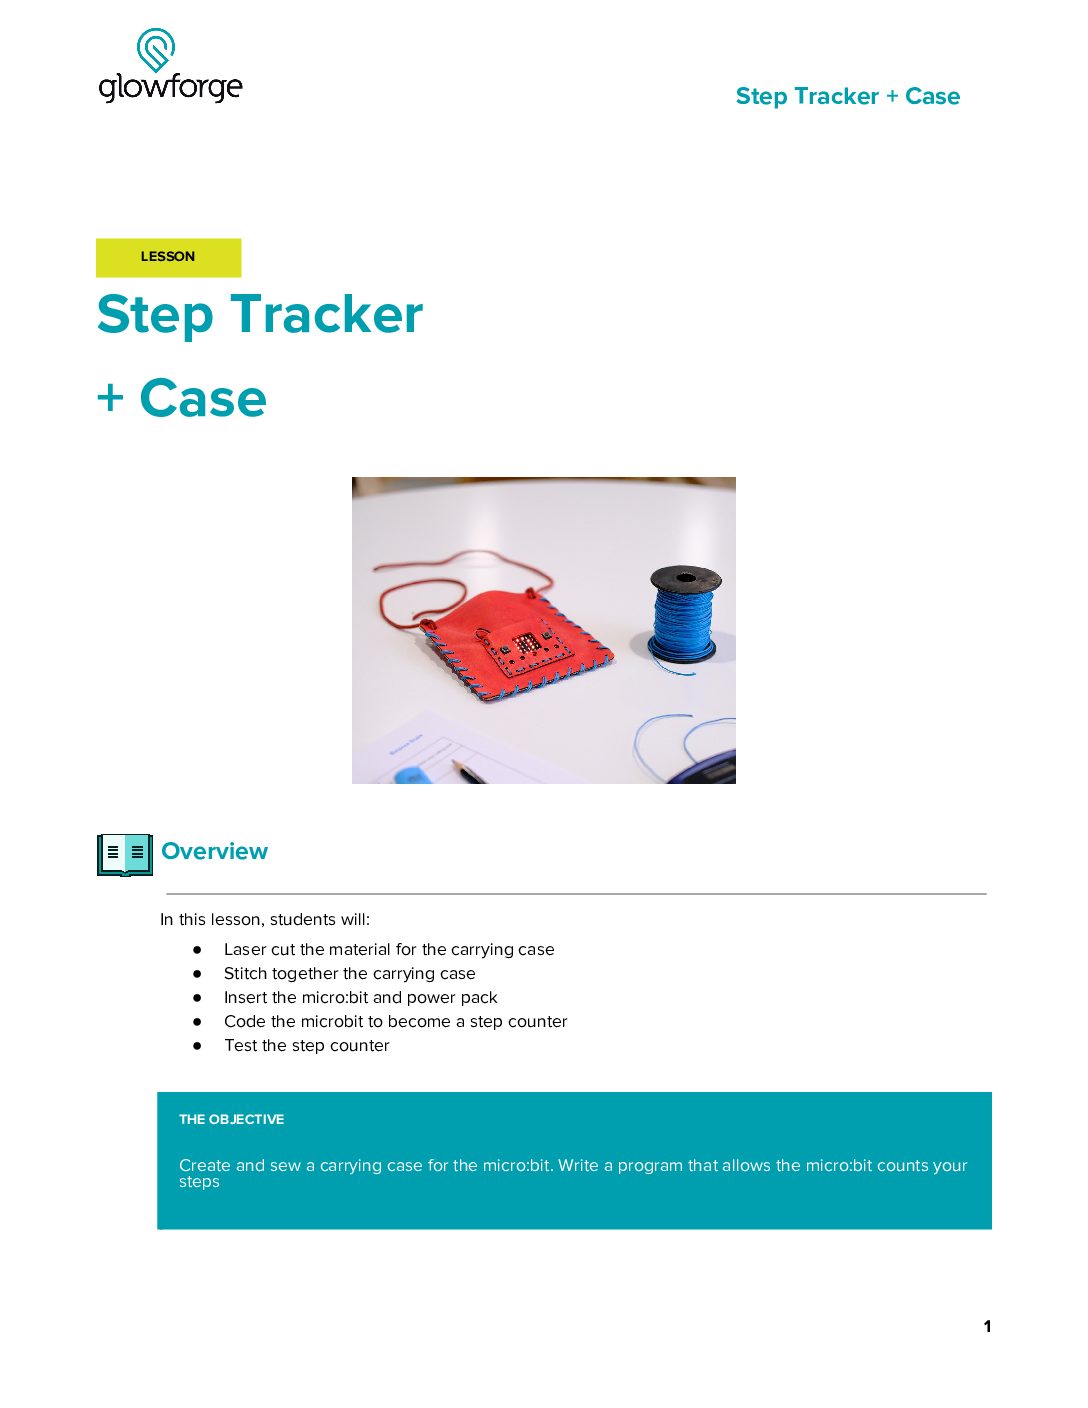
Are you ready to take on the 10,000 step challenge? In this activity, students program a micro:bit – a kind of tiny computer – to create a wearable step counter that measures their activity throughout the day. They use the Glowforge app to customize a leather carrying pouch for the step counter to take it with them wherever they go.
Objective
Students will…Thematic Questions:
Outcomes:
Standards:
ISTE Standards for Students
NGSS Science & Engineering Practices
Supplies
For each Tracker you will need
- 1 x Proofgrade Leather
- micro:bit microcontroller
- micro:bit battery pack and 2xAA or 2xAAA batteries
- Needle
- Thread
- Acrylic paint or leather dye to customize the step tracker
Design Files

Description
Lesson Outline:
Get Ready:
- Read through the activity details to review the steps for completing the activity.
- Use the following resources to familiarize yourself with skills used in this activity.
- Gather all of the materials needed to print, assemble, and customize the Step-by-step Tracker.
- The activity plans are designed for each student to have their own Step-by-Step Tracker. This activity can be adapted for groups as well by having each group pick a separate benefit of movement for their case and then taking turns recording their motions. Each group can make a single chart and graph.
- Consider having an assembled version of the design as an example for students.
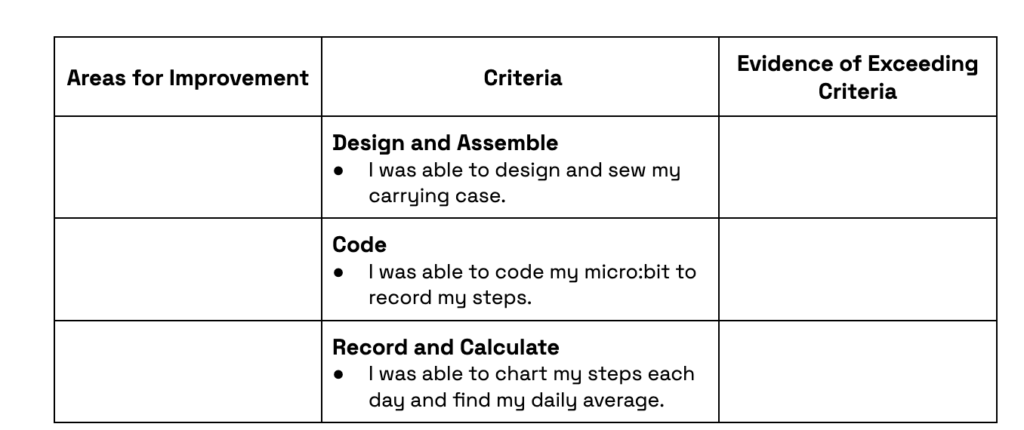
Rubric:
Use this optional rubric for student self-reflection or formative feedback throughout the Step-by-step Tracker experience.
Lesson Instructions
Section 1 – Plan:
- Ask: “What are things that you do to try to stay healthy?” Give students time to think and time to discuss as a class. Consider writing responses on a white board or chart paper.
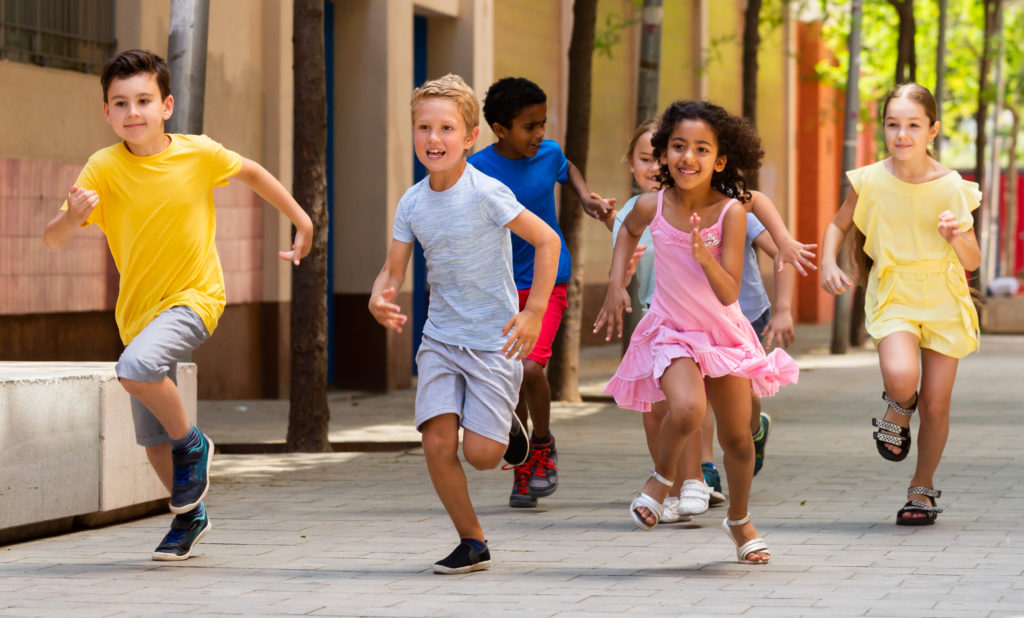
- Remind students that walking is only one form of movement that people can do to stay healthy and that any form of movement has physical and emotional benefits. Have students look for as many of these benefits as they can while watching “What 10,000 Steps a Day Does To Your Body.”
- As a class, brainstorm a list of the benefits of movement such as walking. Write students’ ideas on a white board or chart paper. Their ideas may overlap with the benefits listed in the video. You can consider shifting the focus from counting steps to counting other motions for students who use other forms of mobility such as a wheelchair.
- Ask students to select one of the benefits of movement that appeals to them. This benefit will be the focus for the rest of the activity.
Section 2 – Customize and Create:
- Tell students that they will be creating their own Step-by-step Tracker to help count how many steps they take each day. Additionally, inform students that they will practice the following skills during this activity:
- Customizing their leather carrying case in the Glowforge app;
- Sewing their leather carrying case; and,
- Coding their step counter.
- Plan for printing the Step-by-step Tracker by gathering all of the materials and reviewing the designs in the Glowforge app.
- Each leather carrying case has two opportunities for customizations: text and image. Follow the steps below to customize the carrying case.
- Add custom text to your design in the Glowforge app. Custom text options include:
- A statement about the importance of the health benefit you chose.
- A tip for success related to the benefit you chose.
- A motivational quotation or message related to the benefit you chose.
- Represent the health benefit with an image by following these steps:
- Click the Import Artwork button.
- Search for an image related to the health benefit you chose.
- Select the image.
- Adjust the image’s size and location so that it fits on the carrying case.
- Add custom text to your design in the Glowforge app. Custom text options include:
- Load Proofgrade Leather into the Glowforge and print the pieces for the leather case.
- Create each carrying case by following the steps of the Step-by-step Tracker design project to print and assemble its parts.
- Optional – Use acrylic paint or leather dye to add your own personal touch to your step tracker. This can be done before or after printing.
Section 3 – Use:
- Watch the micro:bit accelerometer and Accelerometer on micro:bit videos. Consider discussing questions like:
- What does an accelerometer do?
- What are some devices that you regularly use that have accelerometers?
- What are some uses for the micro:bit accelerometer? How might you use the micro:bit accelerometer?
- Distribute the micro:bit microcontrollers, battery packs, and batteries to each student.
- Have students plug the programming cable into the micro USB connector on the top edge of the micro:bit while the micro:bit is seated in the pocket. If necessary, refer to the Set up | micro:bit instructions.
- Follow the coding directions for the Step Counter in the micro:bit project guide to understand the different phases, code blocks, and settings to create the program.
- Encourage students to test the step counter for accuracy: Take 10 steps and see what the step counter reads. Have students partner with each other and discuss the following questions:
- Does it register all of your steps or just the ones where you take a hard step?
- Does it detect other movements like jumping or swinging your arms?
- How many steps can you get it to register in one minute?
- Have students make a table to record their steps for the next week. This can be done on chart paper, or even digitally as a spreadsheet. Remember that the goal of step counting is to be more aware of one’s own personal activity and health goals and that there is not a single step count number that is right for all people.

- Consider using one of these lenses for step counting.
- Set a daily or weekly step count goal. Were you able to accomplish this goal? What changes would you make to your activity or goal in the future?
- Fitness is personal and it is important to celebrate growth. Chart the change from Day 1 to Day 7. What was the difference from the start of the week to the end? Who in the class had the largest increase? Consider both total steps and percentage when determining growth.
- How many days did you reach 10,000 steps? Is this a beneficial goal for your personal fitness?
- After one week, have students find the average number of steps that they took each day by finding the sum of days 1-7 and then dividing it by 7.
Reflection Questions:
Help students consider…
- What new skills did you learn creating your Step-by-step Tracker? How might you use these skills in the future?
- What patterns did you notice in your daily step count?
- How did your individual daily step count compare to that of others in the class?
Pro Tips:
- The activity plans are designed for each student to have their own Step-by-Step Tracker. This activity can be adapted for groups as well by having each group pick a separate benefit of walking (or other movements) for their case and then taking turns recording their steps. Each group can make a single chart and graph.
- Practice sewing the whipstitch on a piece of fabric prior to connecting the leather pieces.
- Explore other fun micro:bit Tutorials and Project ideas.
Reimagine:
- How could we use the leather carrying case to organize other things we print with the Glowforge? Keep all of the pieces together for your favorite Glowforge activities like Customized Games, Roll the Dice, or the [Link to 34 – Penny Plinko] pennies. Brainstorm what aesthetic or functional changes that you could make to the carrying case for its new purpose.
- How might you use the accelerometer to measure other movements? Using the same code as your step counter, use your micro:bit accelerometer to count other regular movements like pushups, sit-ups, or other actions.
Remix:
Have students…
- Make a class graph by adding each student’s daily totals and then construct a bar chart to depict how many steps the whole class took each day. Compare the graphs with the results from other classes at your school to see which class adds the most movement into their week!
- A step counter is just one piece of the Being Active design challenge. Explore Being active | micro:bit resources to see how micro:bits and different sensors can help measure your heartbeat or remind your to take regular active breaks, and build empathy for others around the world. Use the code provided or remix your own for custom health peripherals.
Meet Glowforge
The magical 3D laser printer that made this lesson possible. Learn more!
